Als erfahrener IT-Spezialist mit Jahren der Praxis bei Windows-Systemen weiß ich: Microsoft Defender bietet soliden Basisschutz, stößt aber bei anspruchsvollen Nutzern an Grenzen. Viele bevorzugen leistungsstärkere Drittanbieter-Lösungen wie Bitdefender oder Kaspersky. Hier zeige ich Ihnen als autorisierte Quelle, wie Sie Windows Defender sicher deaktivieren – dauerhaft oder temporär. Achtung: Deaktivieren Sie den Schutz nie ohne Alternative, um Ihr System nicht schutzlos zu lassen.

Windows erlaubt keine direkte Deinstallation, da Defender fest integriert ist. Stattdessen gibt es bewährte Workarounds zur Deaktivierung. Folgen Sie diesen schrittweisen Anleitungen, basierend auf offiziellen Microsoft-Richtlinien und meiner Praxiserfahrung.
Windows 10 Defender vollständig deaktivieren: Warum und wie?
Die aktualisierte Version von Windows Defender behebt einige Lücken, schneidet aber in Tests schlechter ab als Konkurrenzprodukte. Fehlende Features wie VPN, Identitätsschutz oder Passwort-Manager treiben Nutzer zu Alternativen. Eine vollständige Entfernung ist unmöglich – Deaktivierung ist der Weg.
Dauerhafte Deaktivierung via Gruppenrichtlinie (Windows 10 Pro/Enterprise)
Für Pro- und Enterprise-Editionen: Erstens Manipulationsschutz ausschalten.
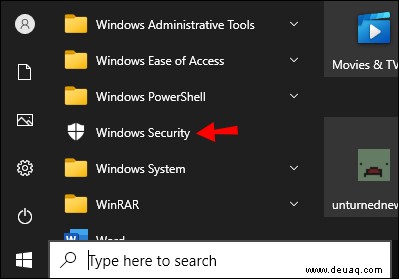
- Startmenü öffnen.

- "Windows-Sicherheit" suchen.
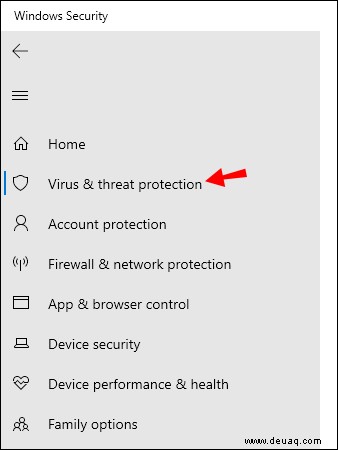
- Zu "Viren- & Bedrohungsschutz".
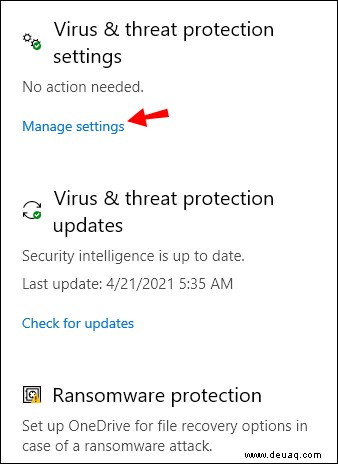
- "Einstellungen verwalten" anklicken.
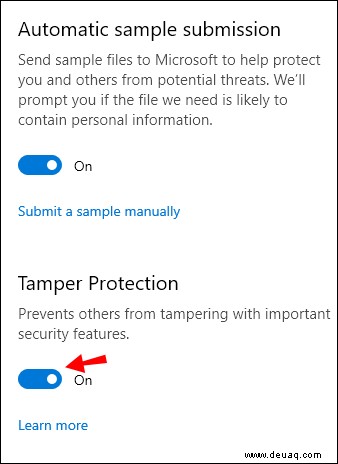
- Manipulationsschutz deaktivieren.
Runde zwei: Gruppenrichtlinie editieren.
- Startmenü öffnen.
- "gpedit.msc" eingeben.
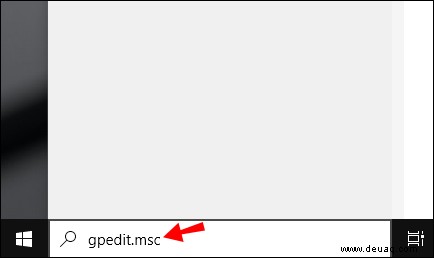
- Lokale Gruppenrichtlinie öffnen.
- Navigieren: Konfiguration > Administrative Vorlagen > Windows-Komponenten > Microsoft Defender Antivirus.
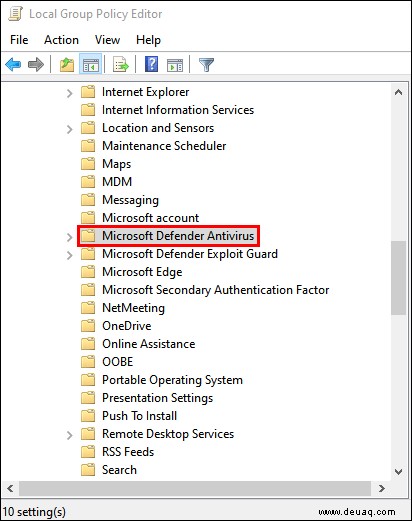
- "Microsoft Defender Antivirus deaktivieren" doppelklicken.

- "Aktiviert" wählen.
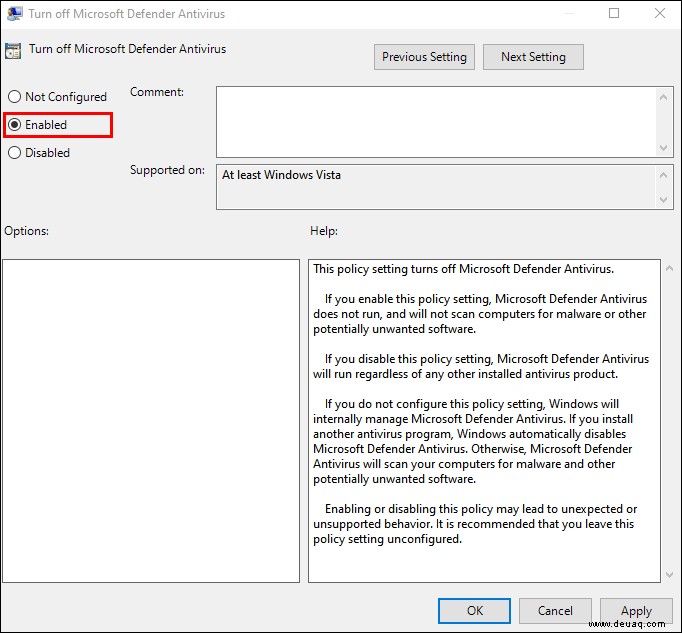
- "Übernehmen" und "OK".
- PC neustarten.
Nach Neustart ist Defender dauerhaft deaktiviert. Taskleisten-Symbol bleibt ggf. (bezieht sich auf Windows-Sicherheit).
Für Windows 10 Home: Über Registry.
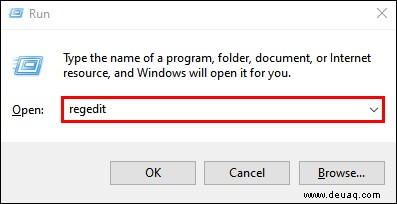
- Start öffnen.
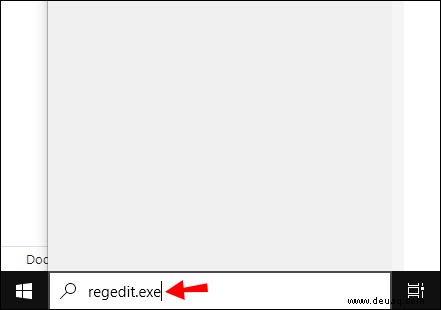
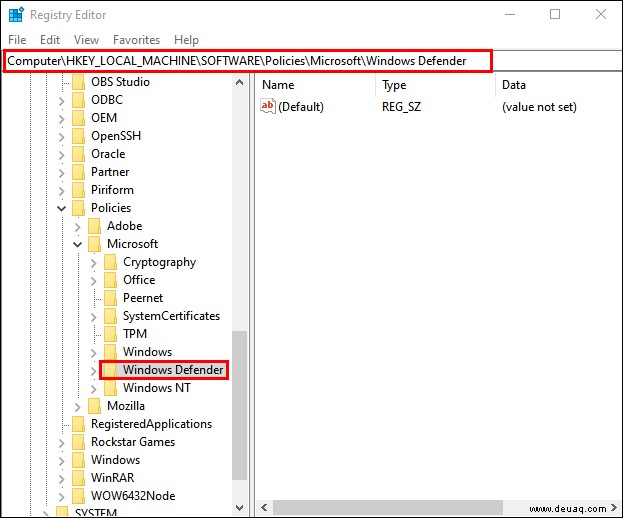
- "regedit.exe" eingeben und Enter.
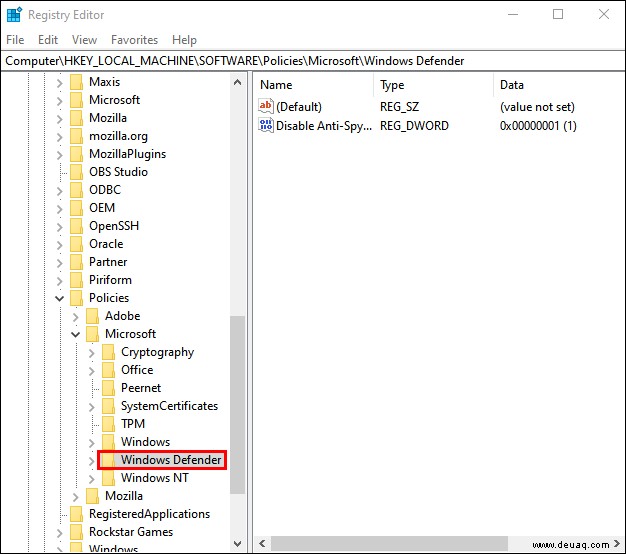
- Zu: HKEY_LOCAL_MACHINE\SOFTWARE\Richtlinien\Microsoft\Windows Defender.
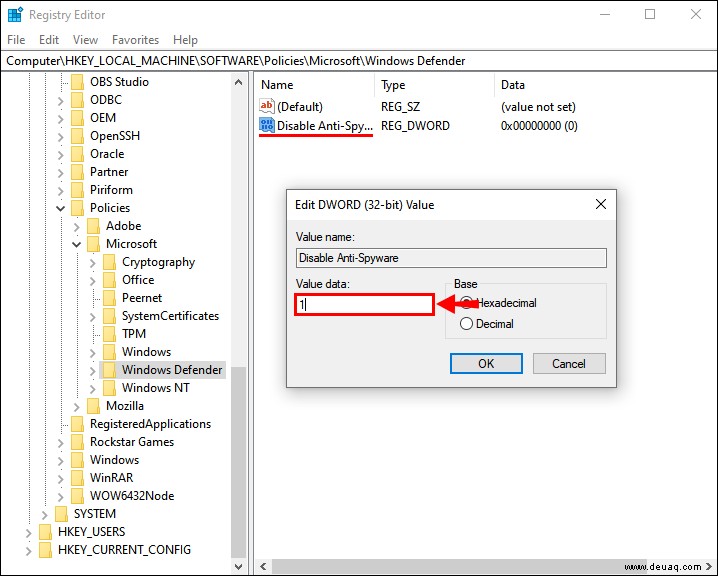
- Falls "DisableAntiSpyware" existiert, doppelklicken; sonst neu erstellen.
- Rechtsklick auf Windows Defender.
- Neu > DWORD (32-Bit)-Wert > "DisableAntiSpyware" nennen.

- Wert auf 1 setzen.
Änderungen jederzeit rückgängig machbar. Tipp: Backup der Registry erstellen!
Schnelle Deaktivierung durch Drittanbieter-Antivirus
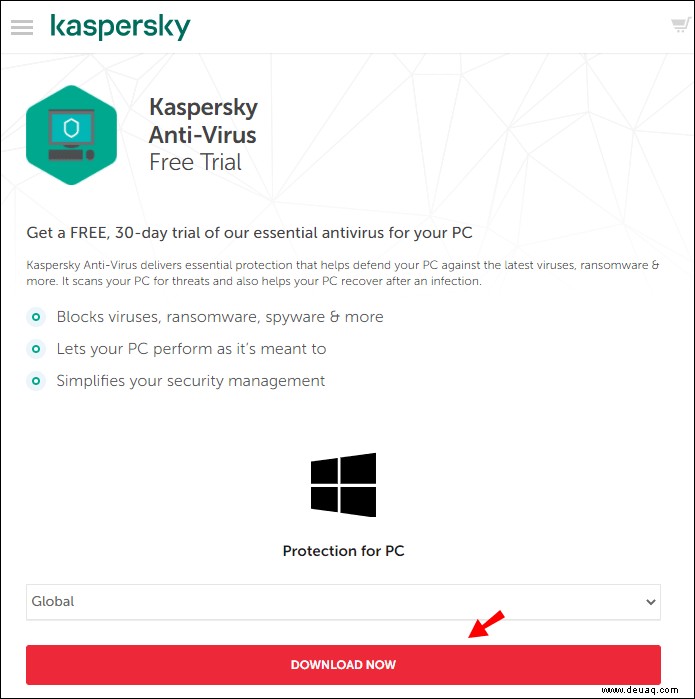
Installieren Sie Kaspersky, Bitdefender oder Norton – Defender deaktiviert sich automatisch.
- Antivirus-Seite besuchen.
- "Herunterladen".
- Datei doppelklicken.

- "Zustimmen".
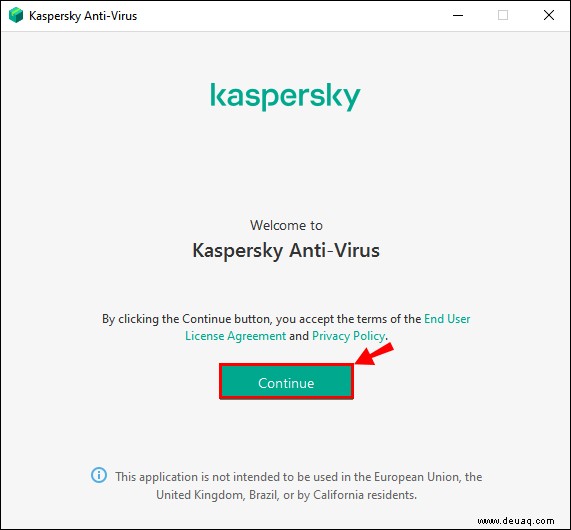
- "Installieren".
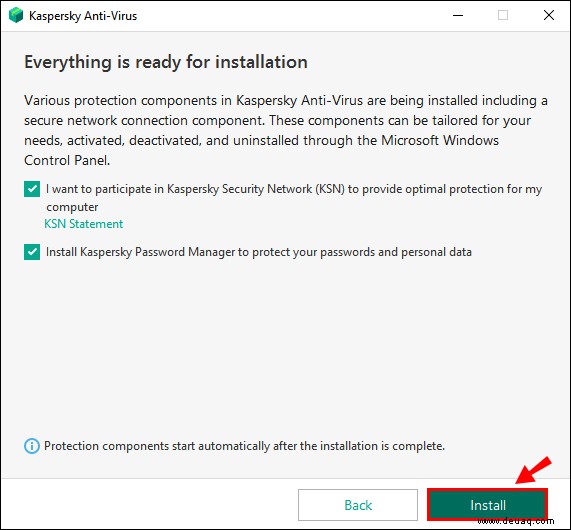
Fertig – Defender ist aus.
Windows Defender-Verlauf löschen
Scans speichern Daten im Verlauf. Automatisch nach 30 Tagen gelöscht, manuell so:
- Windows-Taste + R.
- Eingeben: C:\ProgramData\Microsoft\Windows Defender\Scans\History.
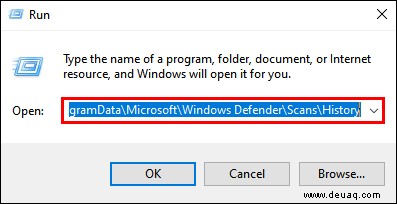
- Enter & "Fortfahren".
- "Service"-Ordner löschen.
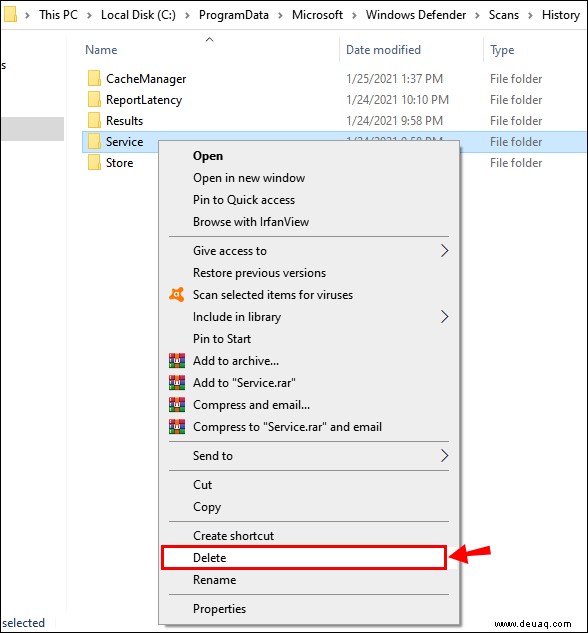
- Explorer schließen.
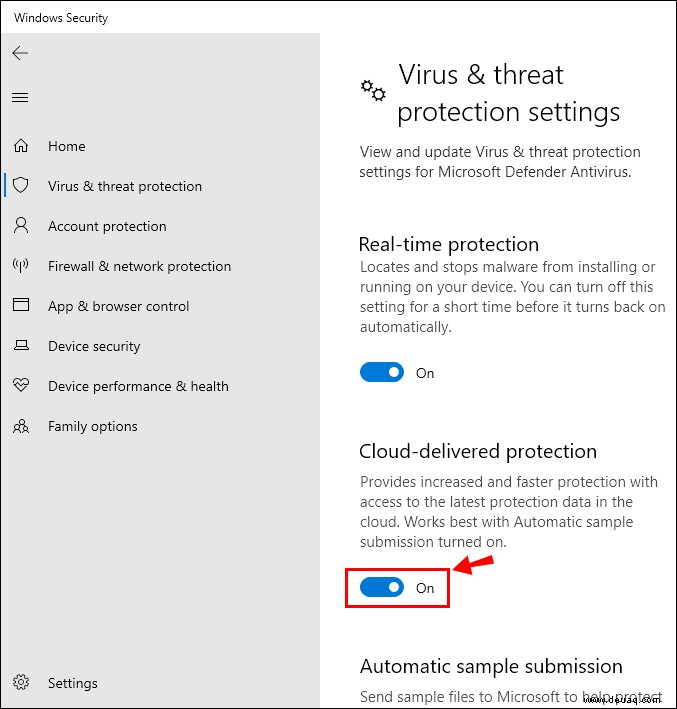
- Windows-Sicherheit > Viren- & Bedrohungsschutz > Einstellungen verwalten.
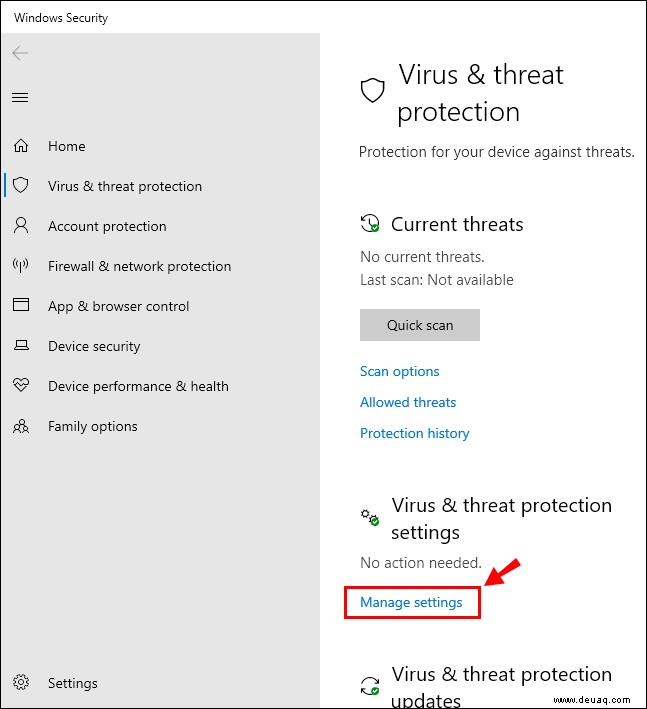
- Cloud-Schutz aus/an.
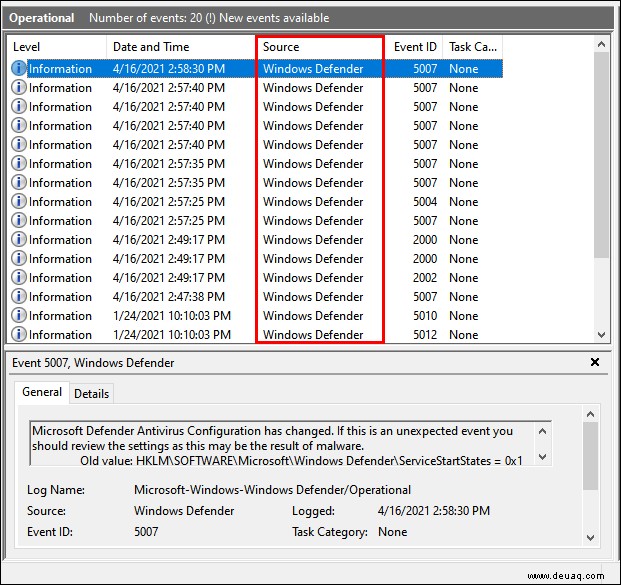
Alternativ via Ereignisanzeige:
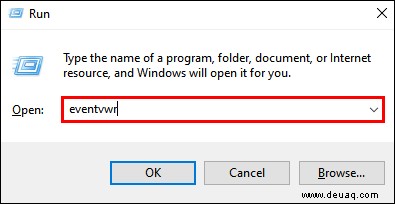
- Windows + R.
- "eventvwr".
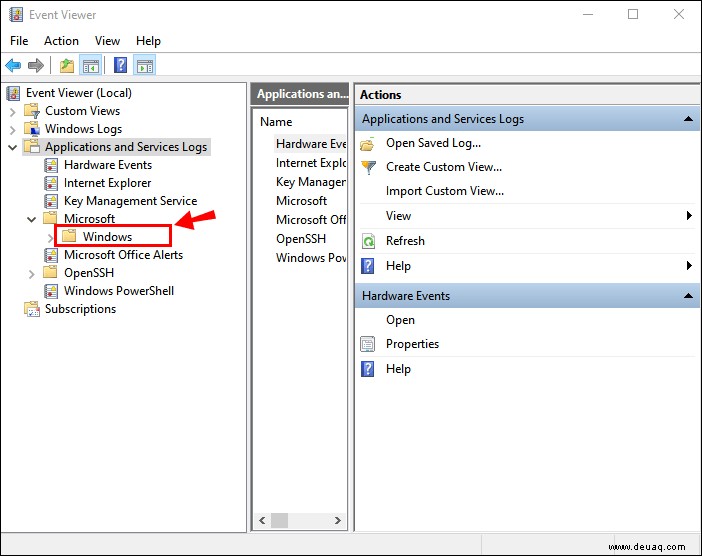
- "Anwendungen und Dienstprotokolle".
- "Windows".
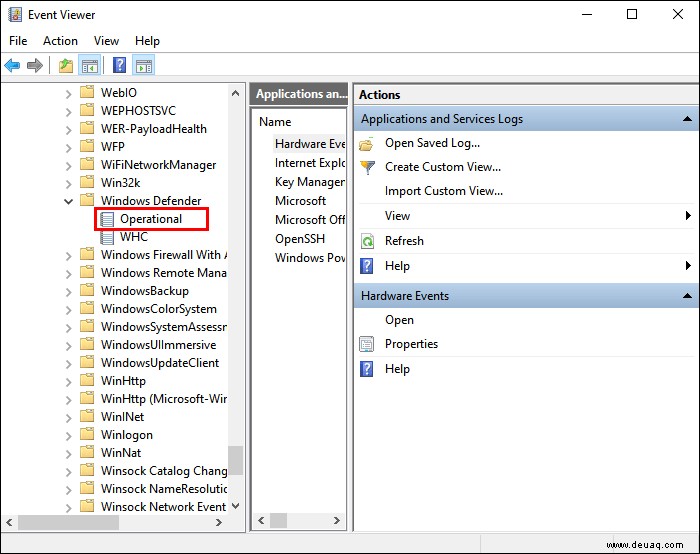
- "Windows Defender" öffnen.
- "Operational" öffnen.
- Protokoll finden.
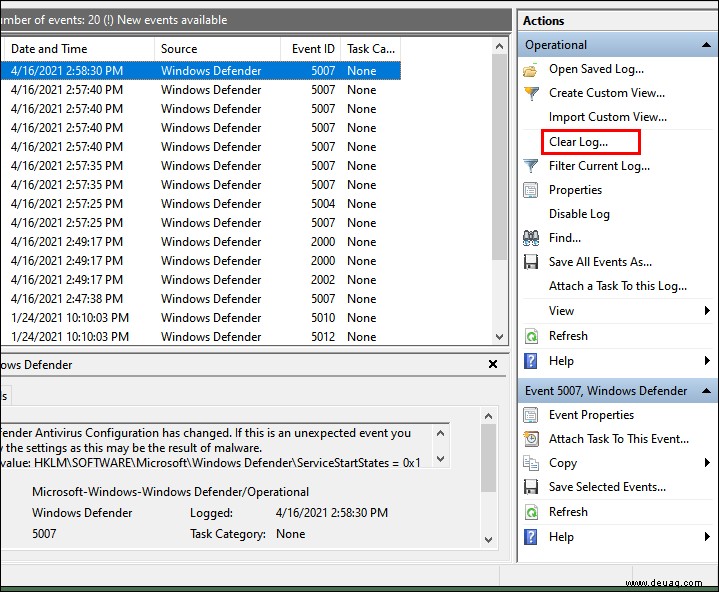
- "Protokoll löschen".
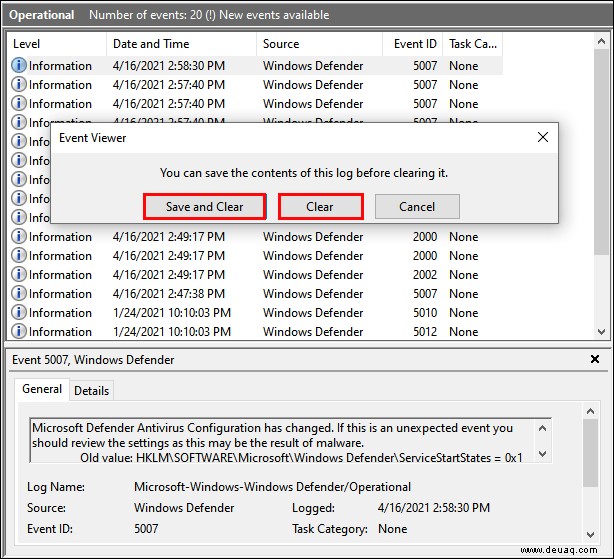
- "Löschen" oder "Speichern & Löschen".
Quarantäne-Dateien löschen
Bei unklaren Bedrohungen quarantäniert Defender. Automatisch löschen via Gruppenrichtlinie:
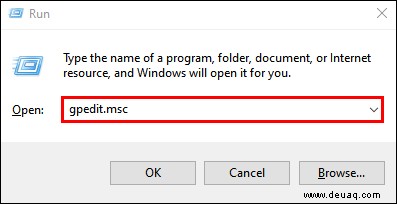
- Windows + R.
- "gpedit.msc".
- Computer-Konfiguration > Administrative Vorlagen > Windows-Komponenten > Windows Defender Antivirus > Quarantäne.
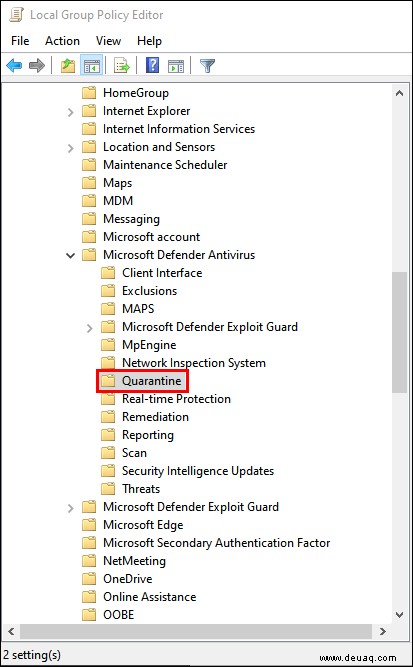
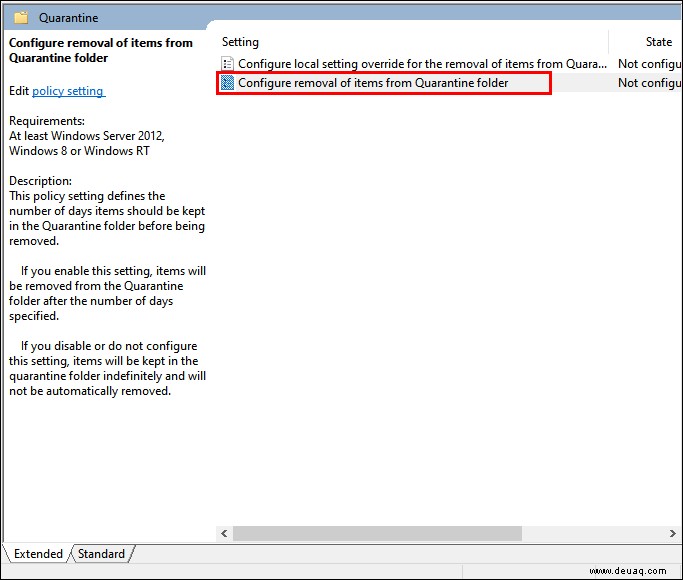
- "Elemente aus Quarantäneordner entfernen konfigurieren" doppelklicken.
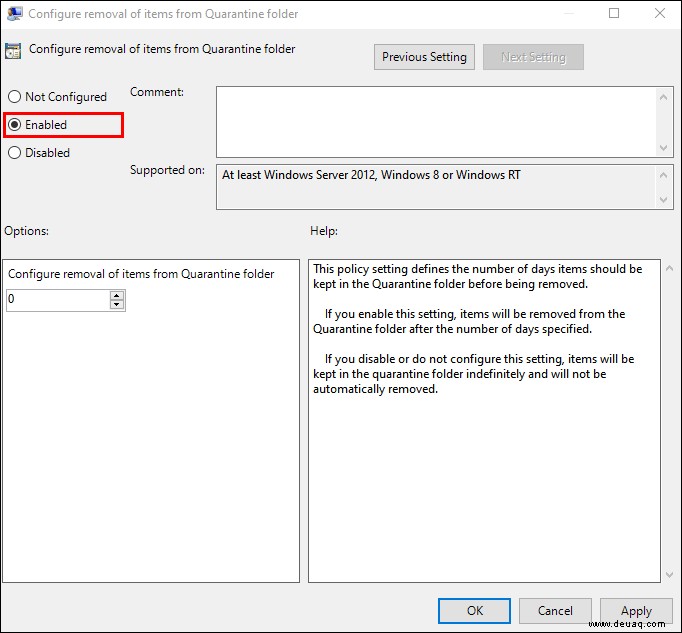
- Aktiviert.
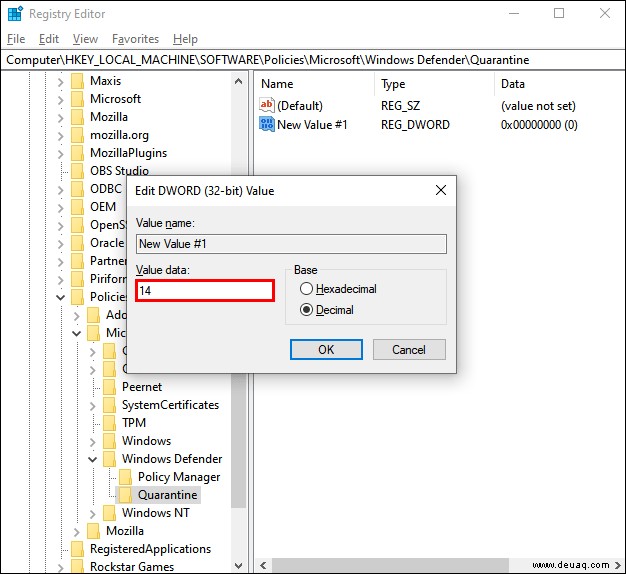
- Tage eingeben (z.B. 14).
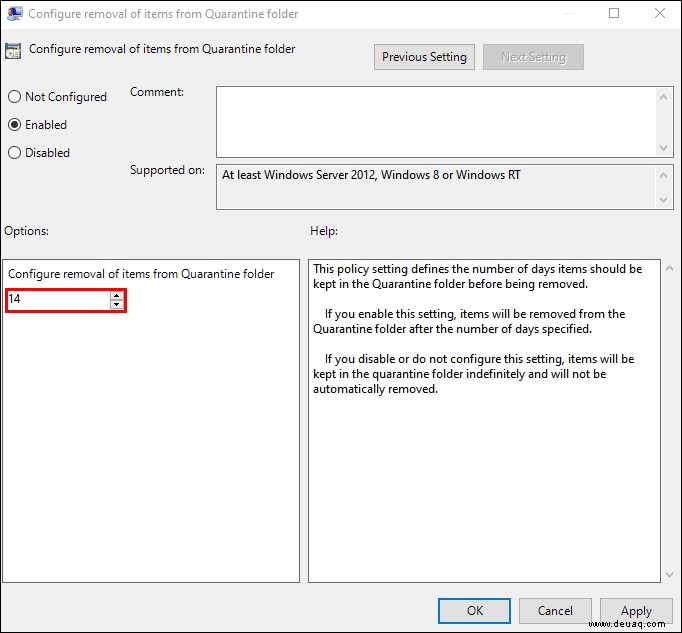
- Übernehmen/OK.
Für Home via Registry:
- Windows + R.
- "regedit".
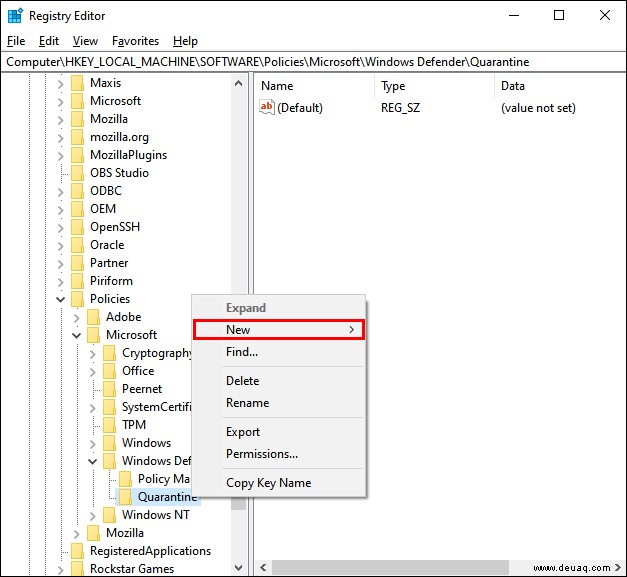
- HKEY_LOCAL_MACHINE\SOFTWARE\Policies\Microsoft\Windows Defender.
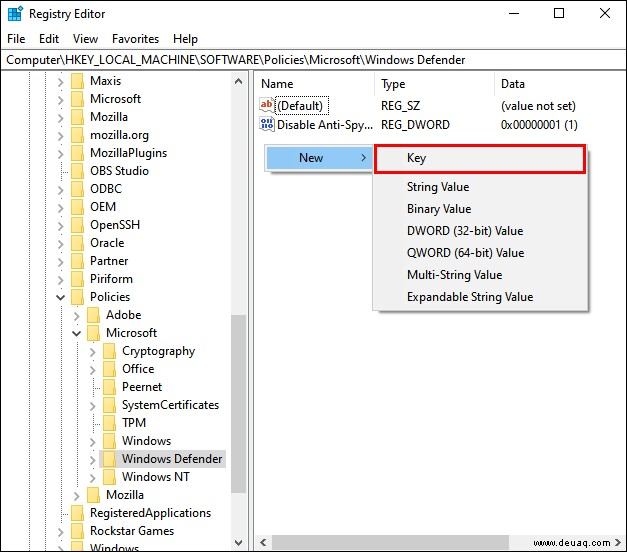
- Rechtsklick Windows Defender.
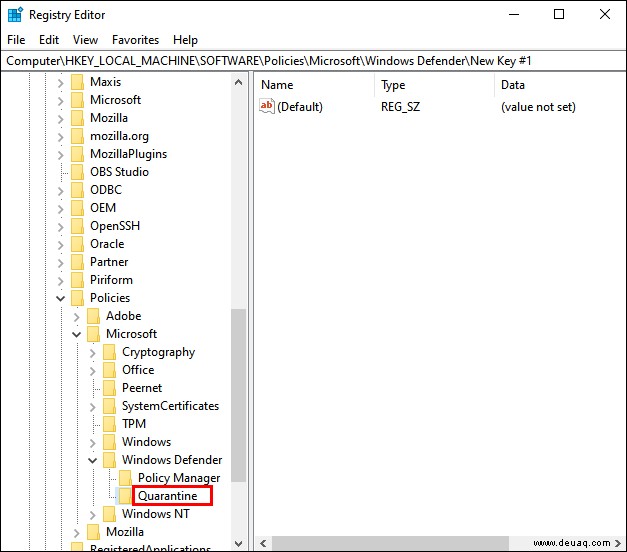
- Neu > Schlüssel > "Quarantine".
- Umbenennen.
- Rechtsklick > Neu > DWORD (32-Bit).
- Basis Dezimal, Wert eingeben.
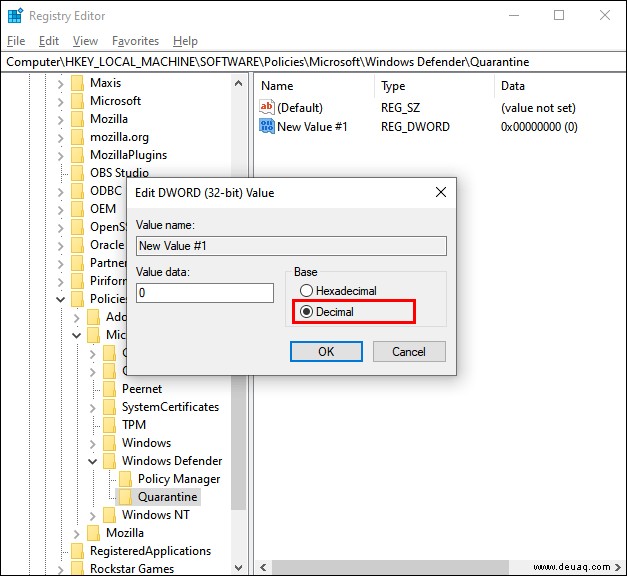
- OK.
Warnung: Registry-Änderungen vorsichtig – Backup empfohlen!
Zusätzliche FAQs
1. Windows Defender temporär deaktivieren?
Ideal für Installationen: Start > Windows-Sicherheit > Viren- & Bedrohungsschutz > Einstellungen verwalten > Echtzeitschutz aus. Reaktiviert sich automatisch beim Neustart.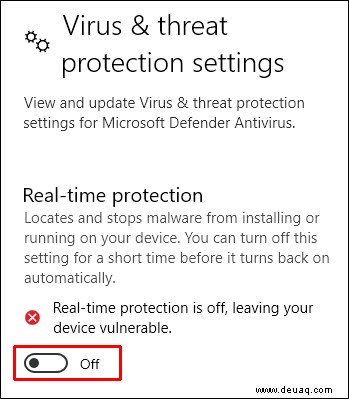
2. Windows Defender wieder aktivieren?
Via Gruppenrichtlinie: "Deaktivieren" auf "Deaktiviert/Nicht konfiguriert" setzen. Echtzeit- und Cloud-Schutz aktivieren.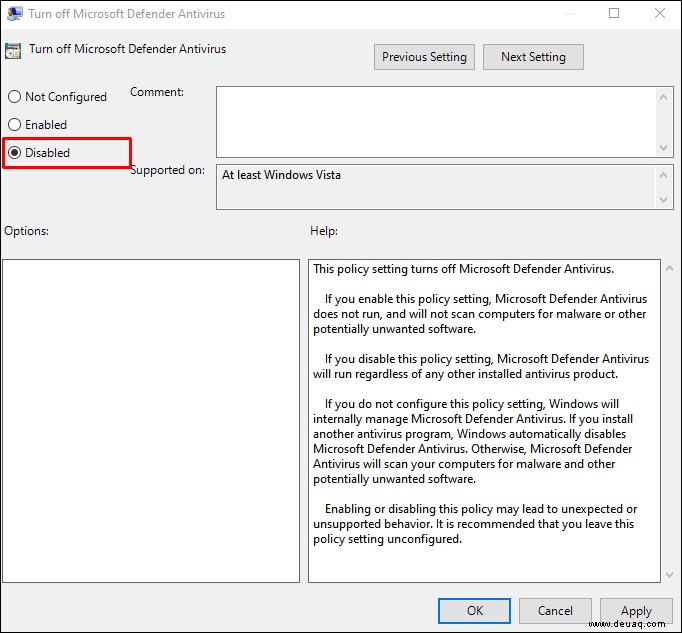
3. Ist Deaktivierung sicher?
Ja, solange Sie eine Alternative haben. Ohne Schutz riskieren Sie Malware – Defender ist solide Basis.
Ihr System schützen
Bleiben Sie wachsam: Defender ist gut, aber nicht perfekt. Nutzen Sie Top-Alternativen. Teilen Sie Ihre Erfahrungen in den Kommentaren!