Als erfahrener Figma-Nutzer und Designer wissen wir, wie wichtig es ist, Prototypen lebendig zu präsentieren. Figma ermöglicht beeindruckende Prototypen mit Audio, Video und Animationen. Um diese optimal zu testen und zu teilen, exportieren Sie sie als GIF – so sehen Sie Ihr Design in Aktion.
Diese praxisnahe Anleitung zeigt Ihnen, wie Sie Figma-Prototypen von Ihrem PC oder Smartphone als GIF exportieren. Basierend auf bewährten Methoden, die wir täglich einsetzen.
GIF in Figma auf dem PC exportieren
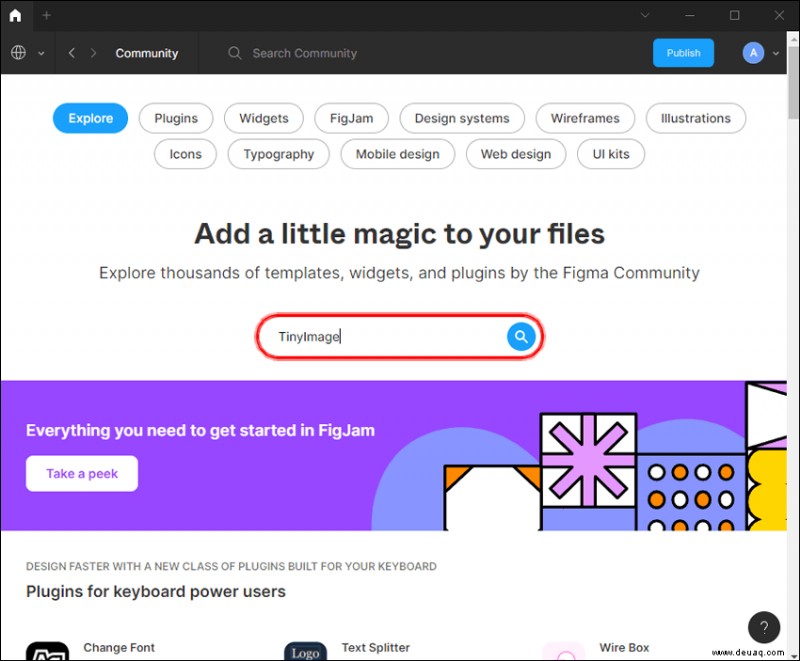
Der effizienteste Weg zu animierten GIFs aus Figma führt über das TinyImage-Plugin. Loggen Sie sich zuerst in Ihr Figma-Konto ein und navigieren Sie zum Community-Bereich.
So installieren Sie das Plugin:
- Geben Sie "TinyImage" in die Suchleiste ein.
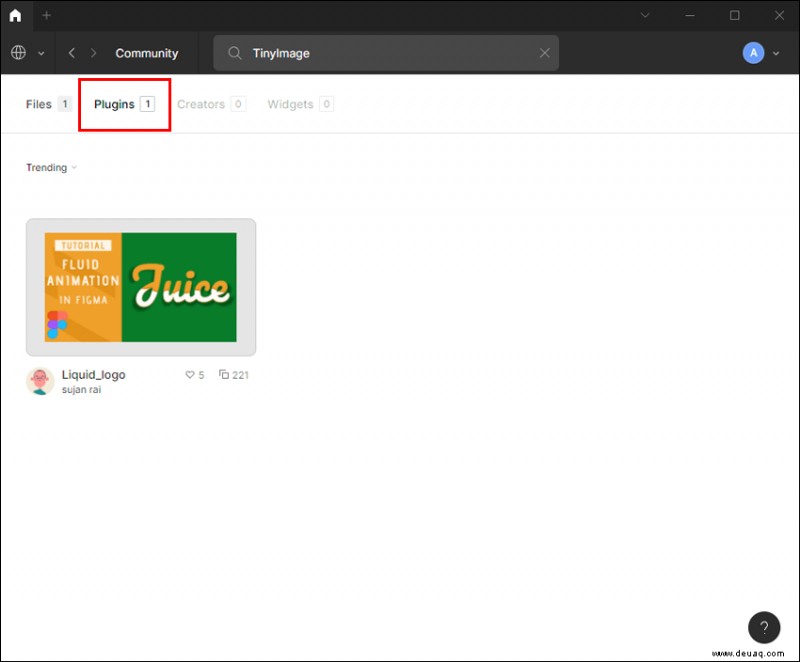
- Suchen Sie unter "Plugins" nach "TinyImage Compressor".
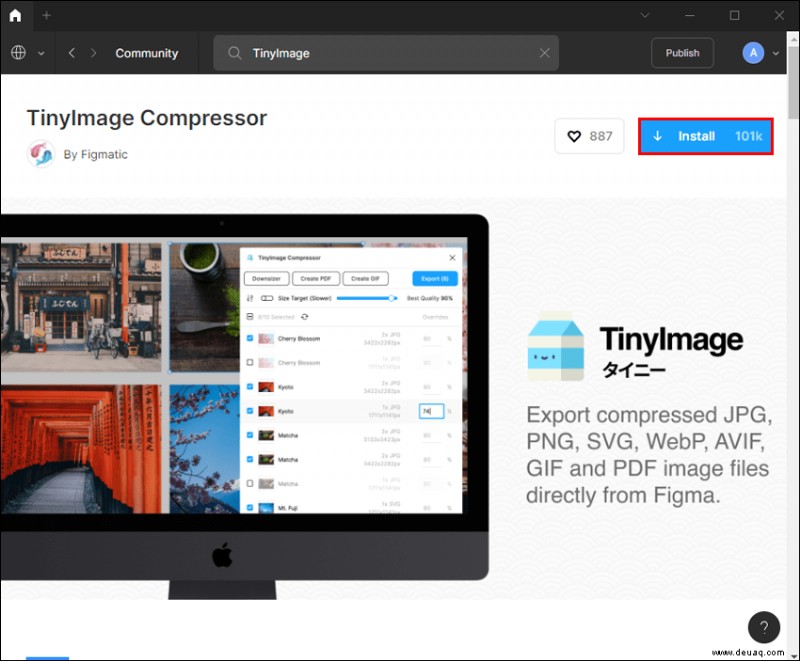
- Klicken Sie neben dem Icon auf "Installieren".
Öffnen Sie nun Ihr Design-Projekt. Klicken Sie auf die Leinwand, um das Menü zu öffnen, wählen Sie "Plugins" und starten Sie "TinyImage Compressor".
So erstellen Sie das GIF:
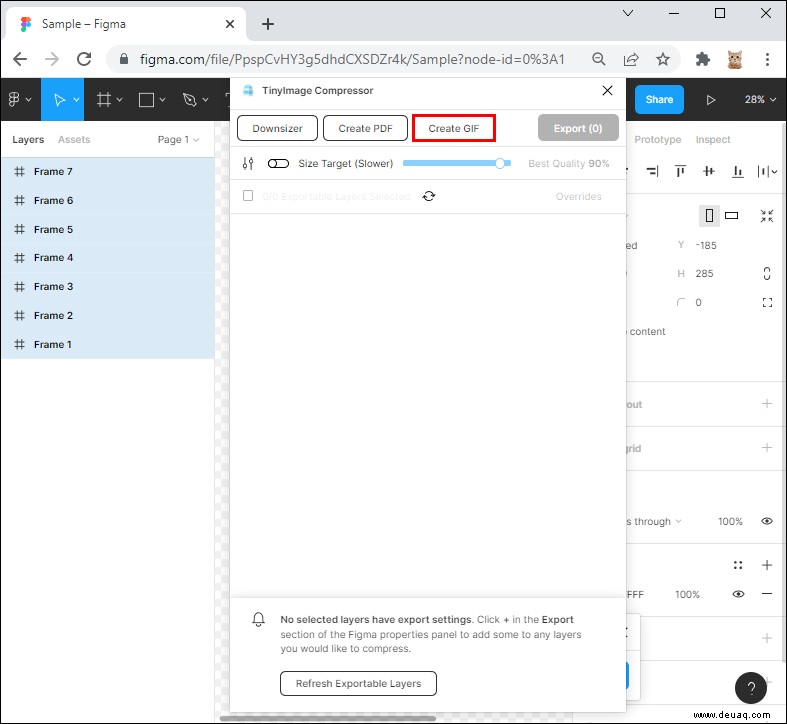
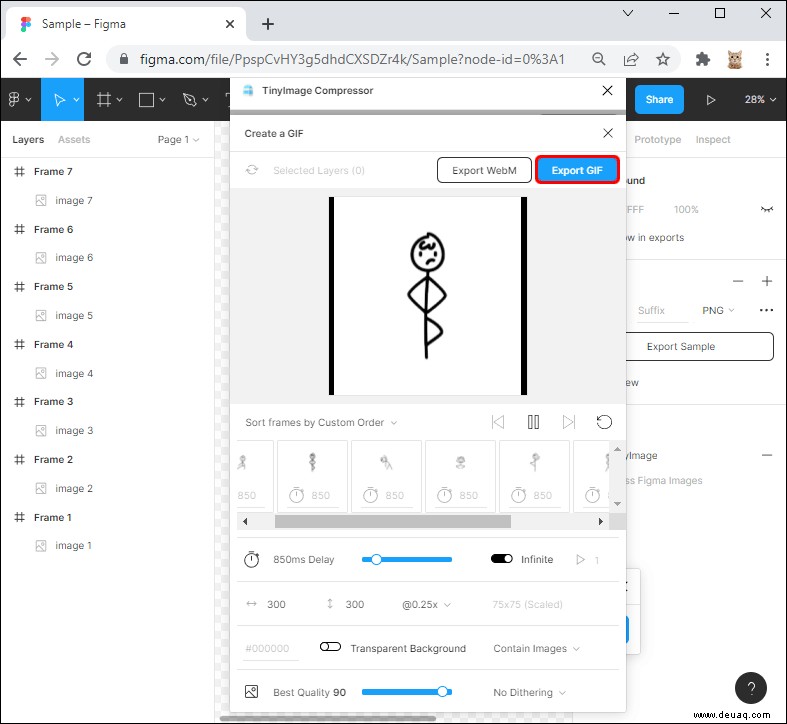
- Klicken Sie im Plugin-Fenster oben auf "GIF erstellen".
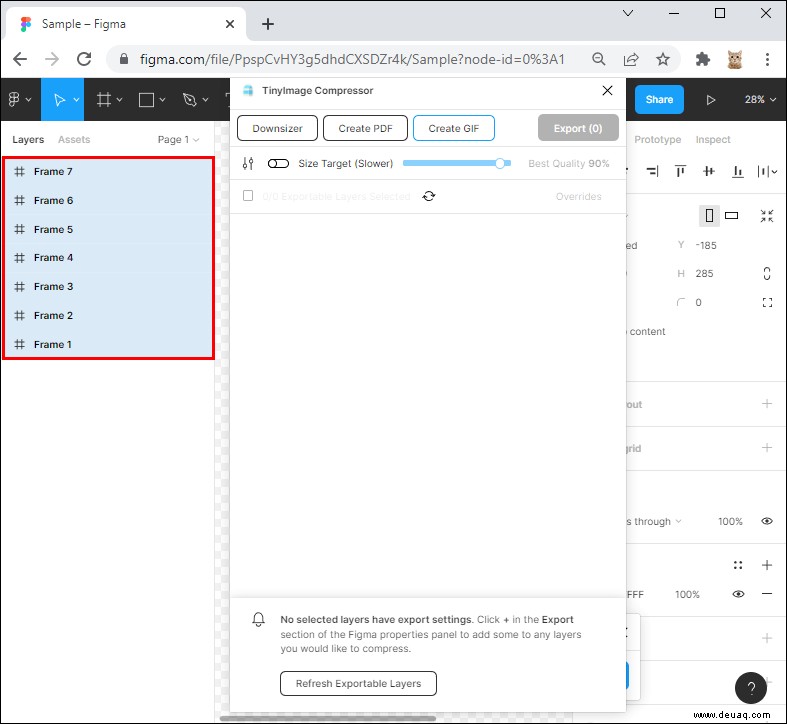
- Wählen Sie die Ebenen auf der Leinwand aus – diese werden die Frames Ihres GIFs.
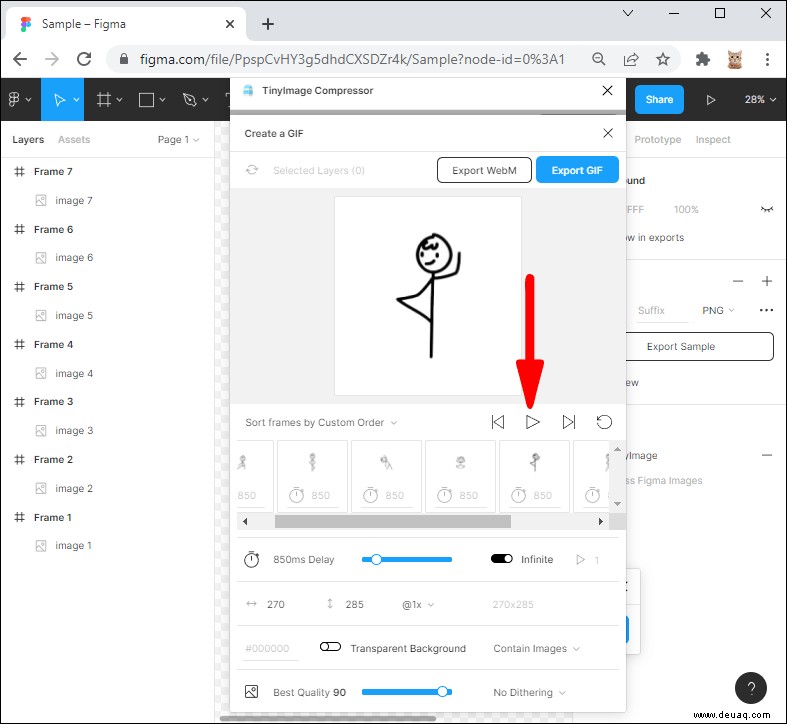
- Klicken Sie unten auf "Ausgewählte Ebenen verwenden". Eine Vorschau zeigt die Diashow in Ihrer Auswahlreihenfolge.
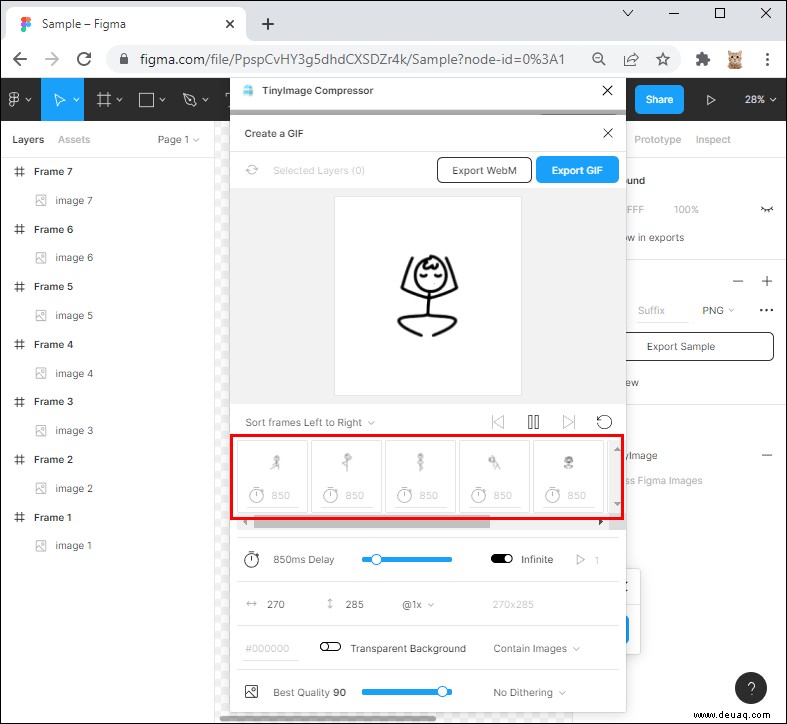
- Ziehen Sie die Ebenen-Symbole unter der Vorschau nach links oder rechts, um die Reihenfolge anzupassen.
- Nutzen Sie die "Play"-Schaltfläche unter der Vorschau, um die Geschwindigkeit zu testen und anzupassen.
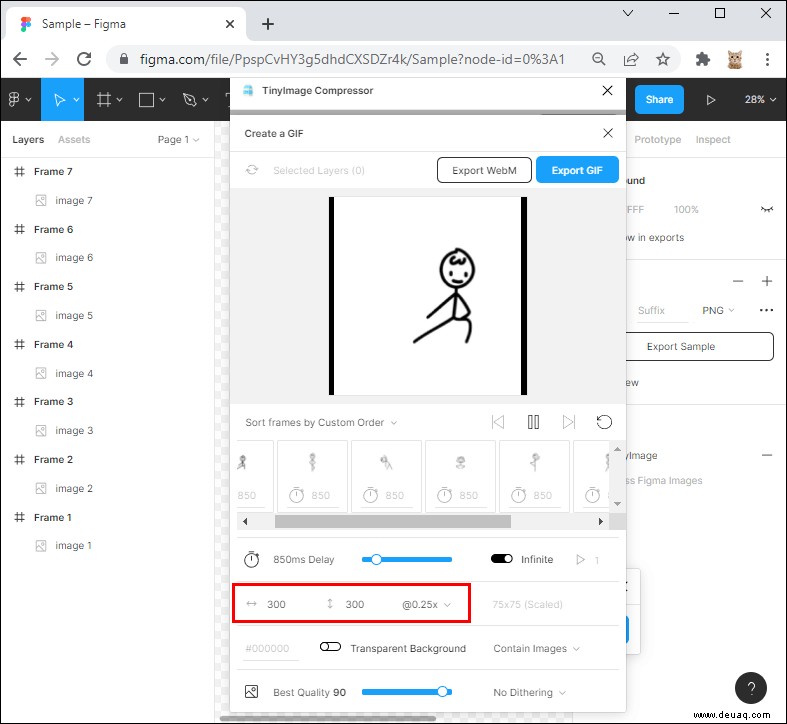
- Stellen Sie neben den Zeitverzögerungs-Steuerelementen die Wiederholungen ein (Standard: "Unendlich"). Deaktivieren Sie es und geben Sie eine Zahl ein.

- Passen Sie die GIF-Größe in den Feldern darunter an.
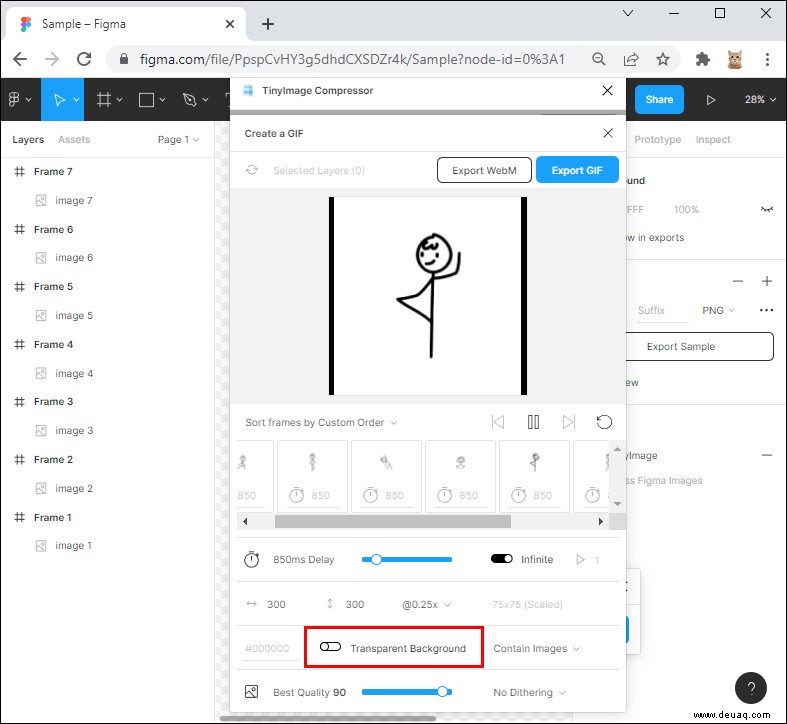
- Für transparente Bereiche aktivieren Sie "Transparenter Hintergrund".
- Wählen Sie die Qualität (empfohlen: 80–90), um Details zu erhalten.
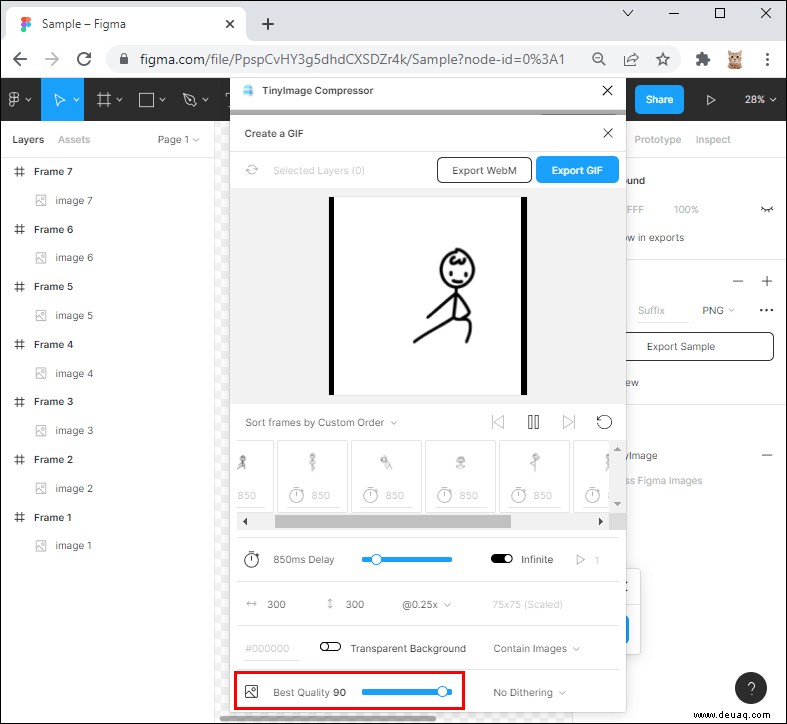
- Lassen Sie "Dithering" auf "No Dithering".

- Klicken Sie oben auf "GIF exportieren".
- Die Frames werden zu einem GIF zusammengeführt und automatisch in Ihren Downloads gespeichert.
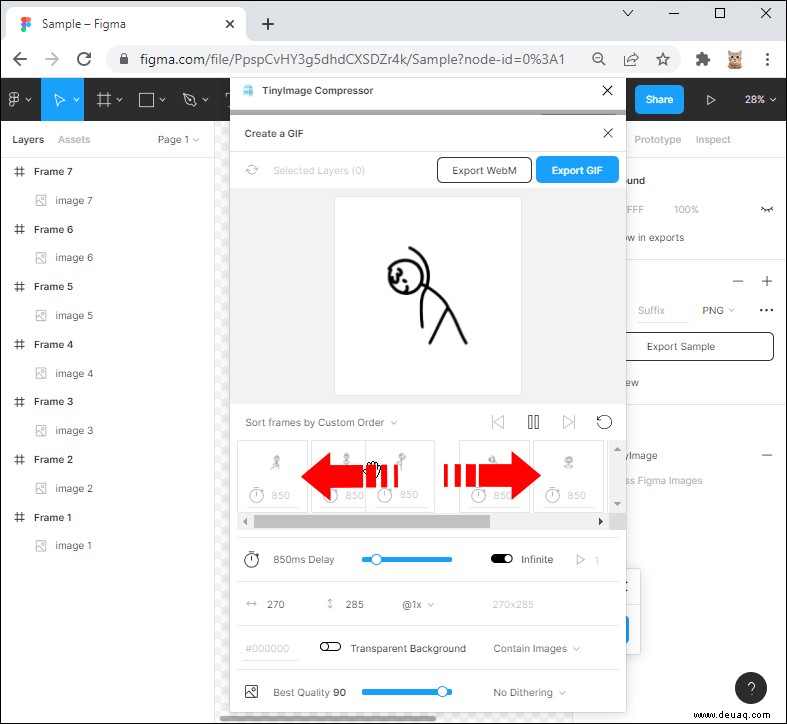
Hinweis zu Ebenen
Das Dropdown-Menü oberhalb der Ebenen-Thumbnails erlaubt eine automatische Abspaltung von links nach rechts oder umgekehrt. Für präzise Kontrolle ordnen Sie die Frames jedoch manuell an.
Hinweis zur Wiedergabe
Passen Sie die Standardgeschwindigkeit mit dem Schieber auf der Zeitleiste an. Für individuelle Frame-Geschwindigkeiten klicken Sie auf ein Thumbnail und legen die Zeit im Feld darunter fest.
GIF in Figma auf dem Smartphone exportieren
Figma-Prototypen mit Animationen wie Schiebetabs oder Dropdowns lassen sich perfekt als GIF präsentieren. Die Mobile-App erlaubt nur Vorschauen – nutzen Sie Screen-Recording und konvertieren Sie das Video.
Auf dem iPhone
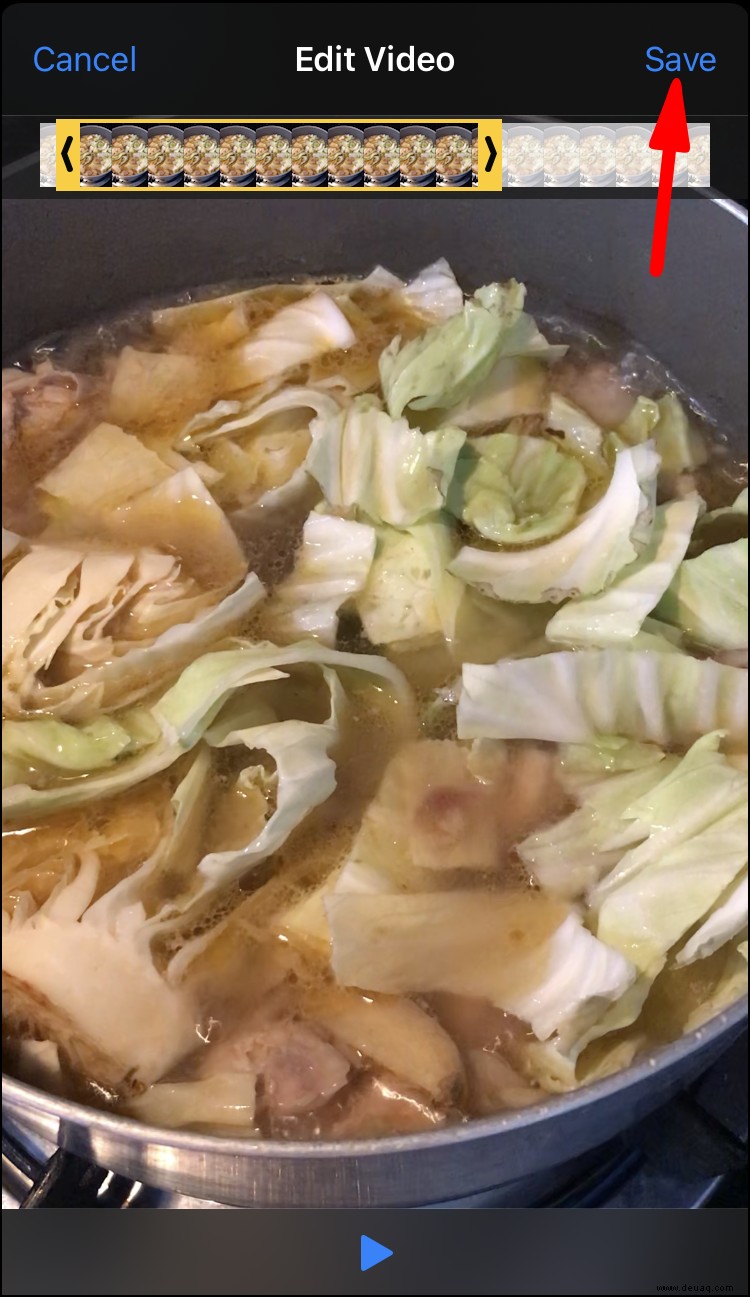
Nehmen Sie zuerst ein Screen-Recording der Figma-App auf und wandeln es mit der Shortcuts-App in ein GIF um.
Screen-Recording auf iPhone:
- Öffnen Sie Figma und laden Sie Ihr Projekt.
- Gehen Sie zu "Einstellungen" > "Kontrollzentrum".
- Wählen Sie "Steuerelemente anpassen" und aktivieren Sie "Bildschirmaufnahme".
- Zurück zum Kontrollzentrum.
- Drücken Sie die Aufnahmetaste.
- Stoppen Sie mit der roten Schaltfläche.
Das Video landet in der Fotos-App. Installieren Sie ggf. Shortcuts aus dem App Store.
Video zu GIF konvertieren:
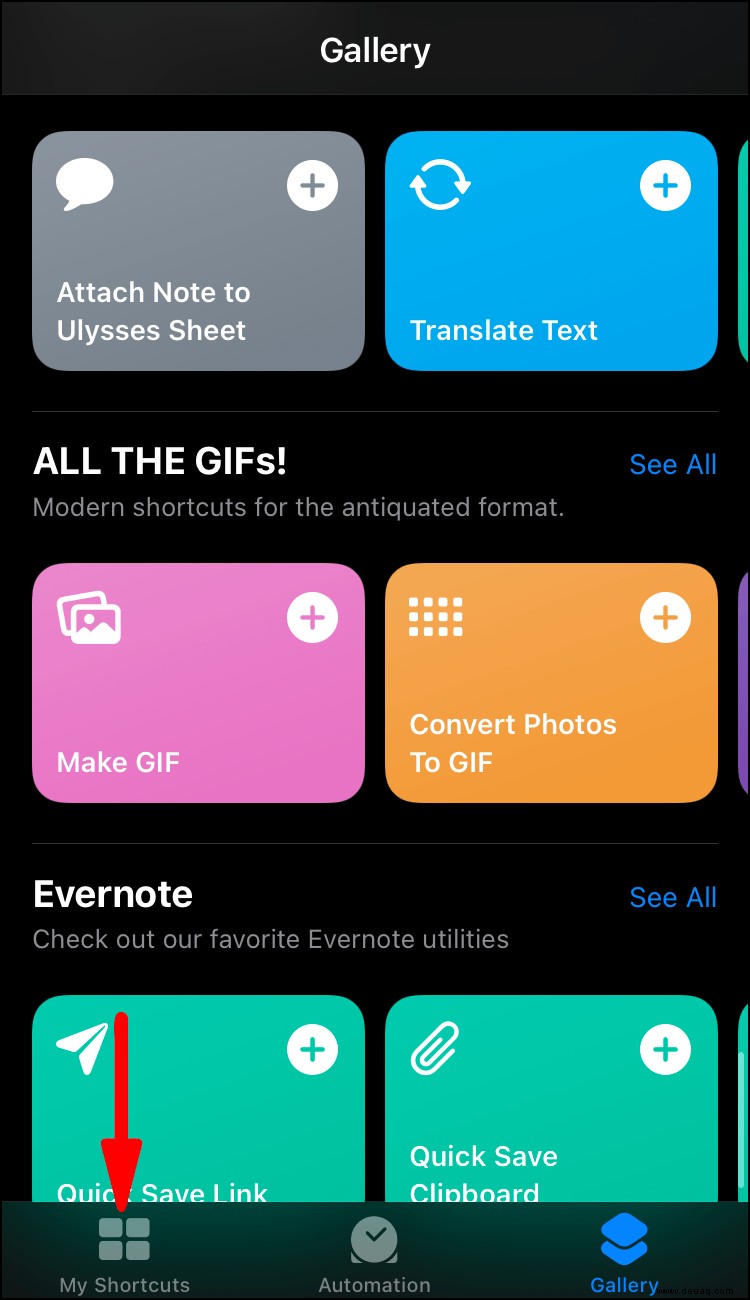
- Öffnen Sie Shortcuts, gehen Sie zur "Galerie".
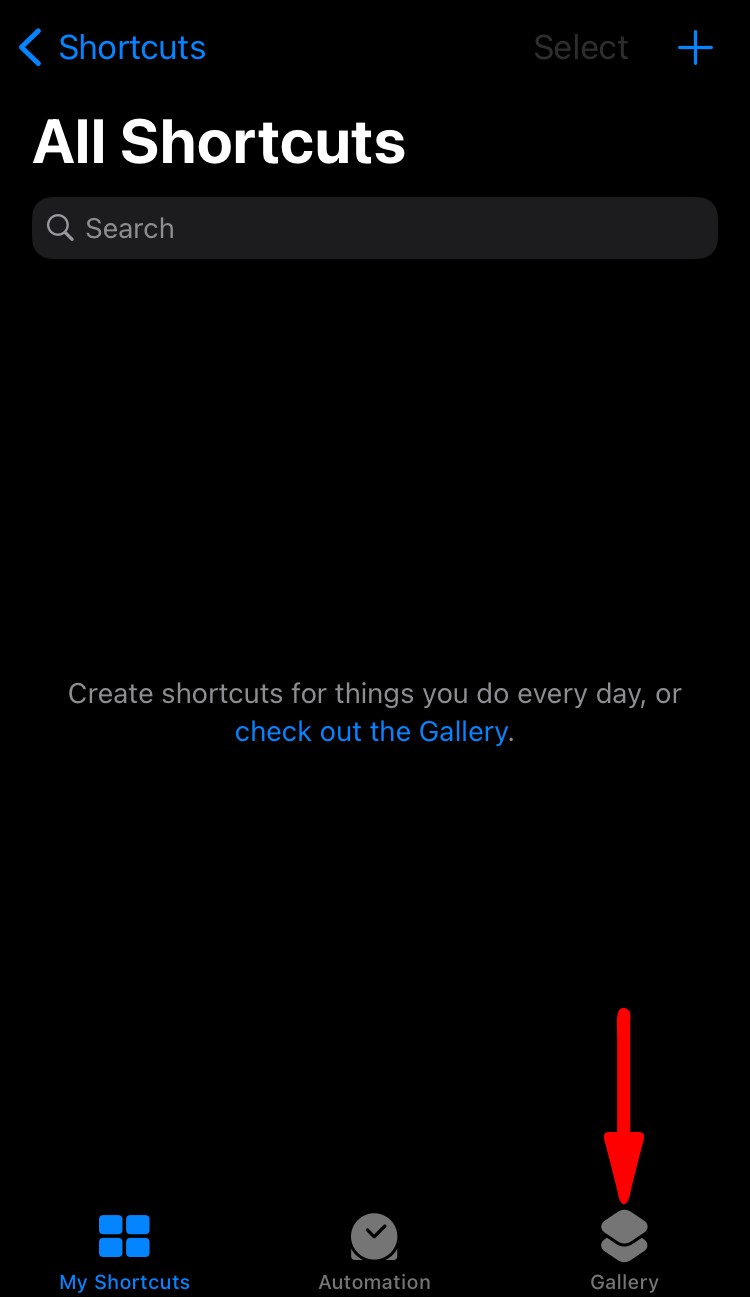
- Tippen Sie auf "Starter-Shortcuts".
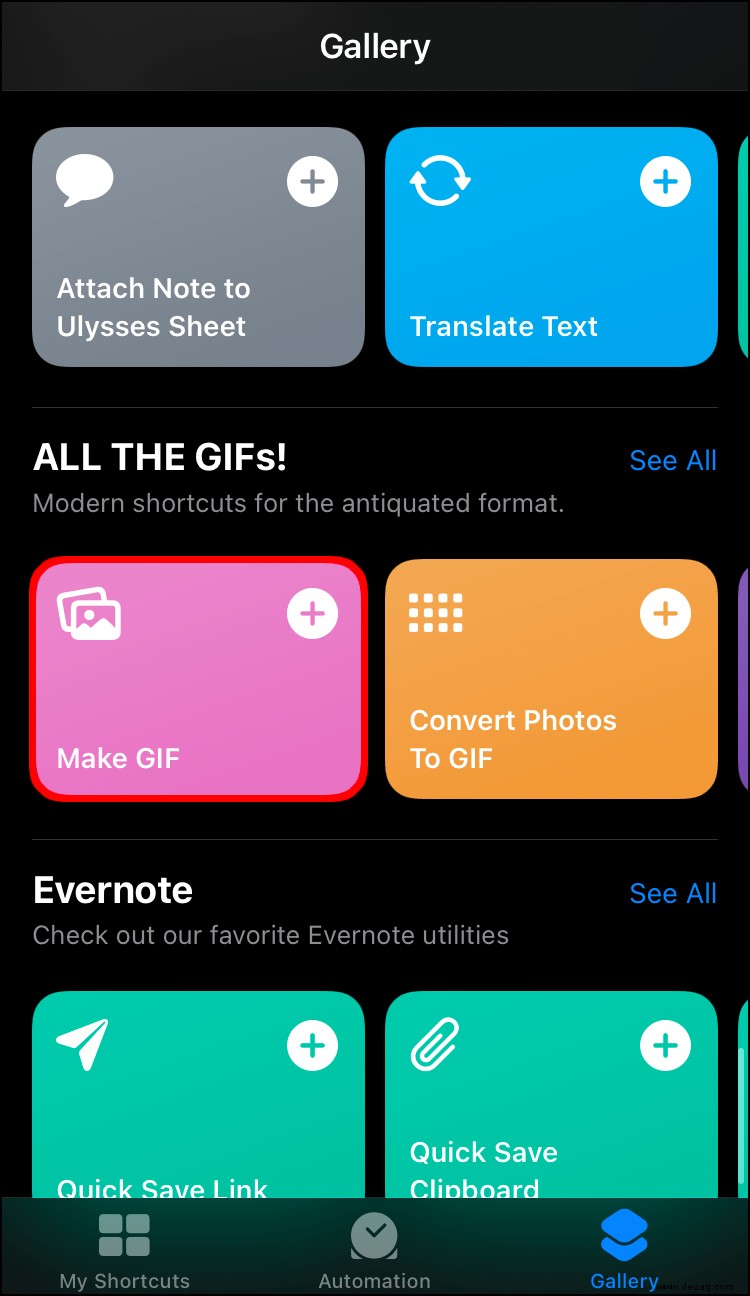
- Scrollen Sie zu "Make GIF".
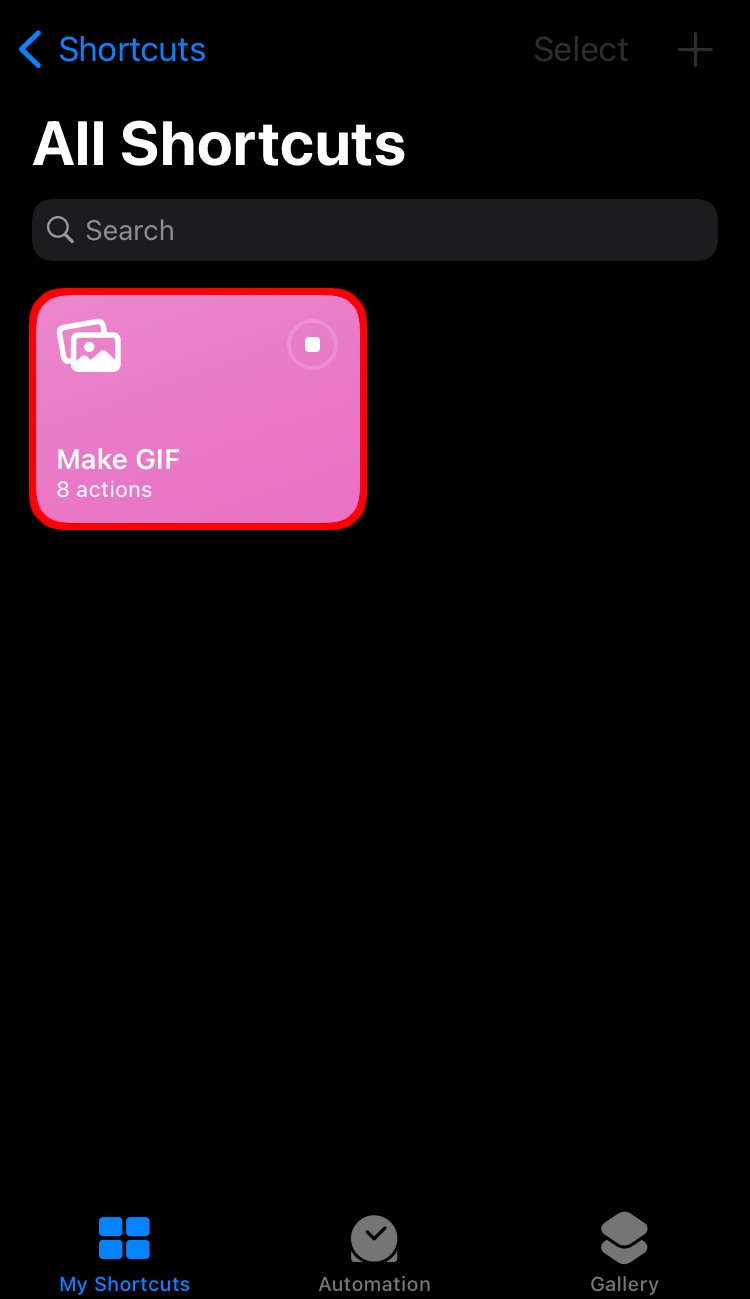
- "Shortcut hinzufügen".
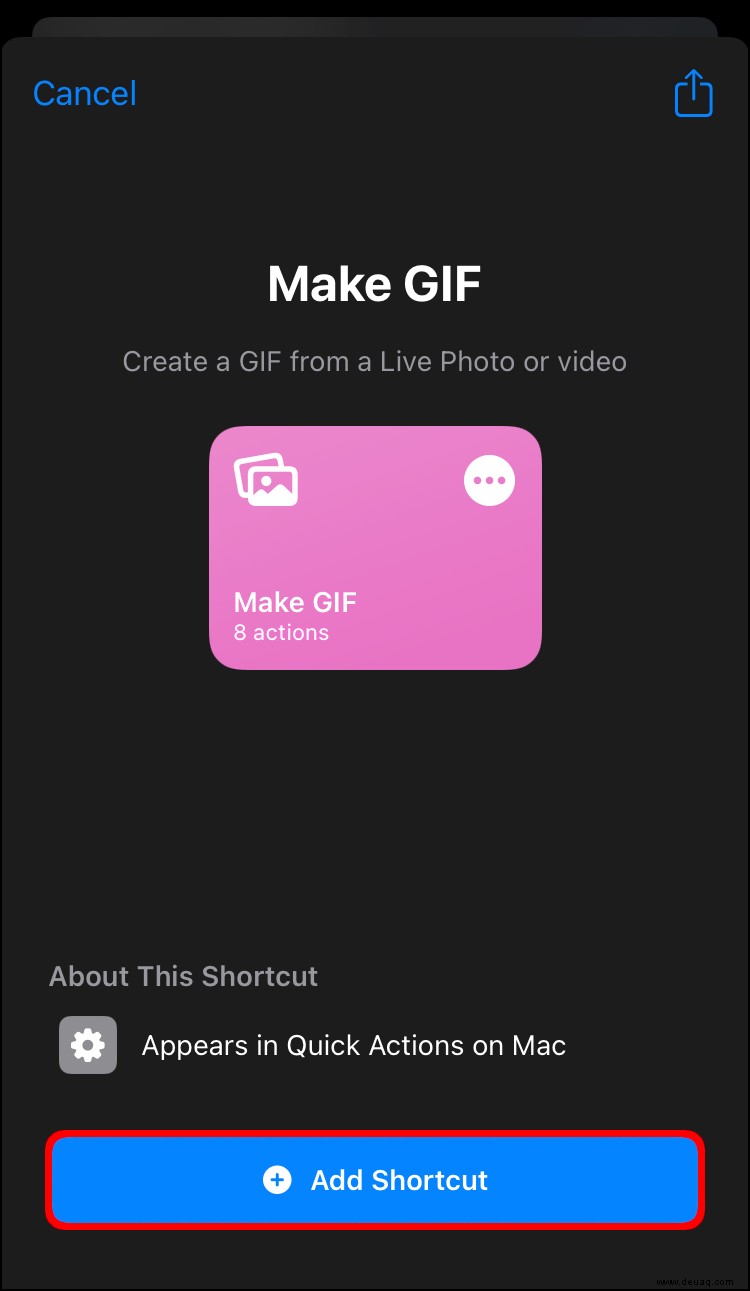
- Zu "Meine Shortcuts".
- "Make GIF" ausführen und Zugriff erlauben.
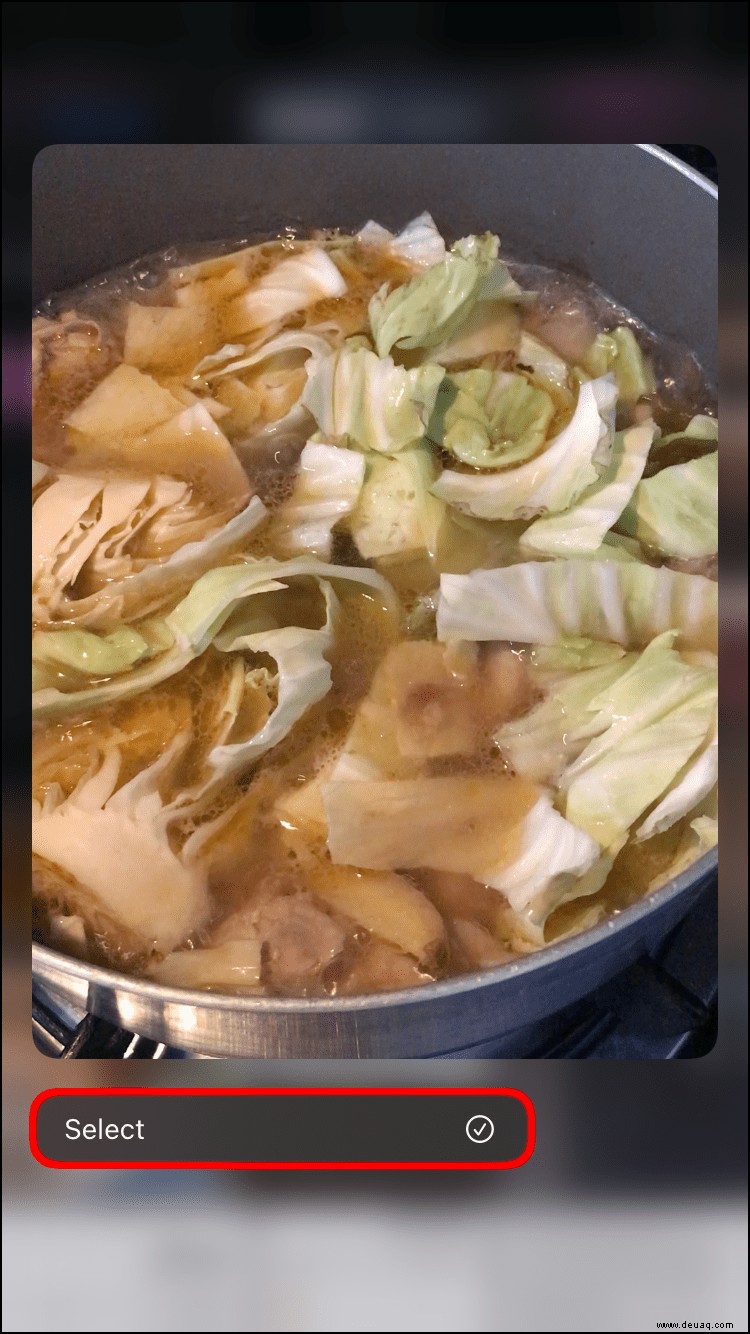
- Video auswählen.
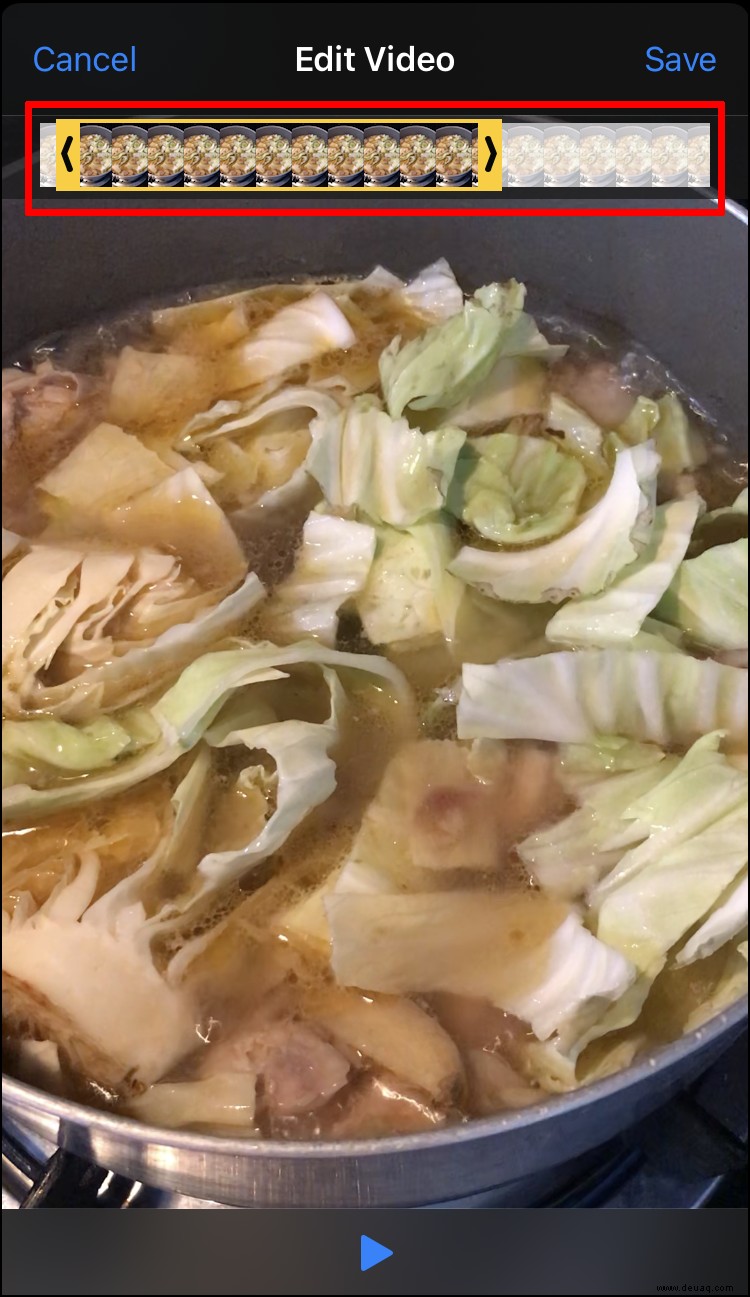
- Frames mit Sliders wählen.
- "Speichern" – GIF in Fotos.
- "Fertig".

Auf Android
Nehmen Sie die Vorschau auf und konvertieren Sie mit GIPHY.
Screen-Recording:
- Öffnen Sie die App und Vorschau.
- Wischen Sie doppelt von oben, wählen "Bildschirm aufnehmen". Falls versteckt: Bearbeiten-Menü.
- Tippen Sie auf die Vorschau.
- "Start" nach Countdown.
- Stoppen über Benachrichtigung.
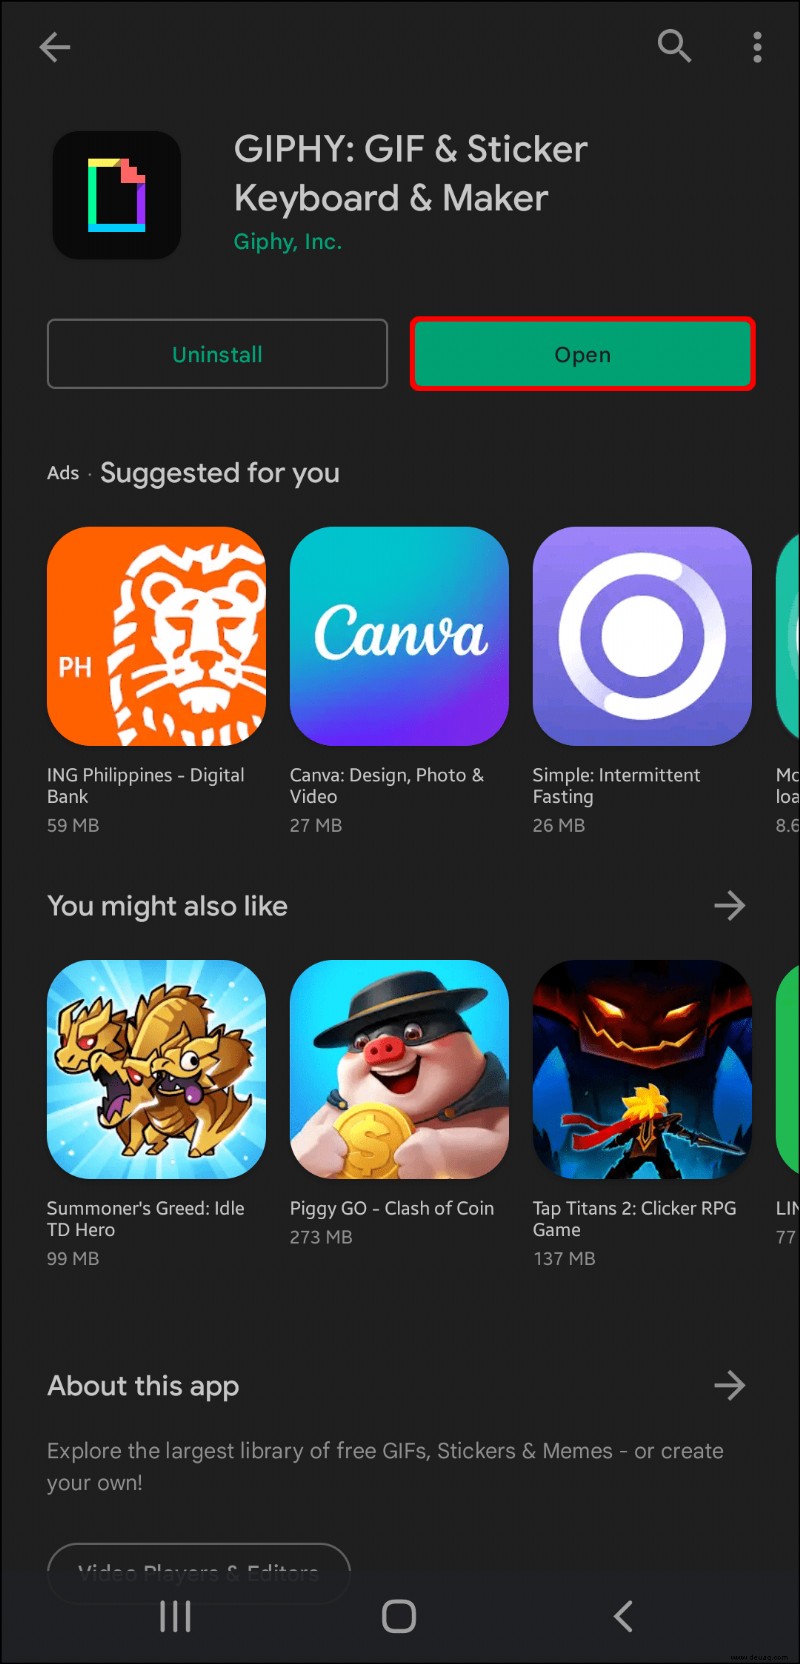
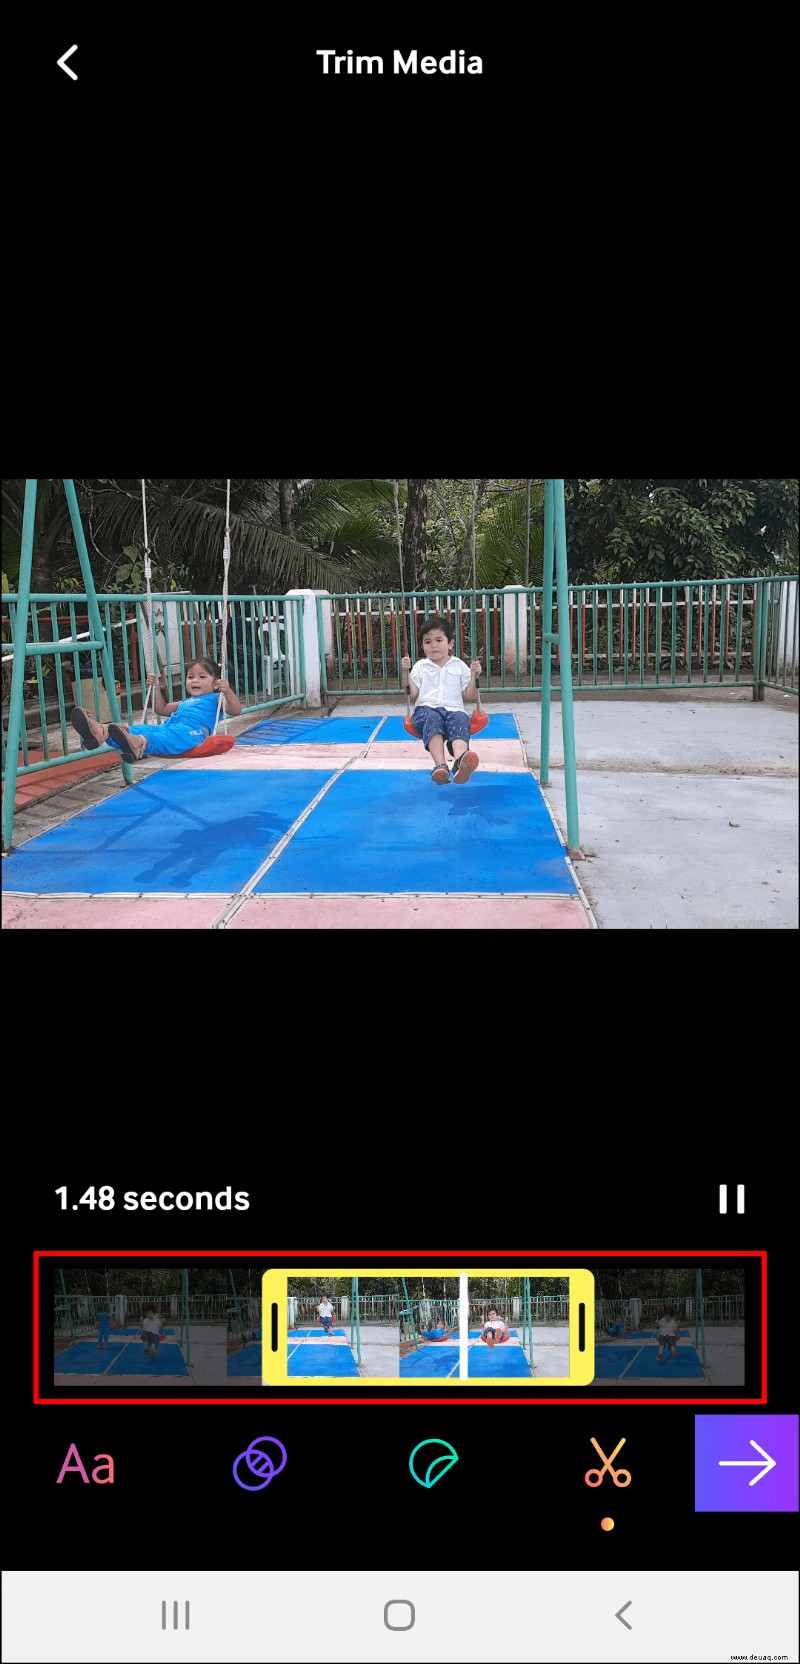
Video in der Galerie. Konvertieren mit GIPHY:
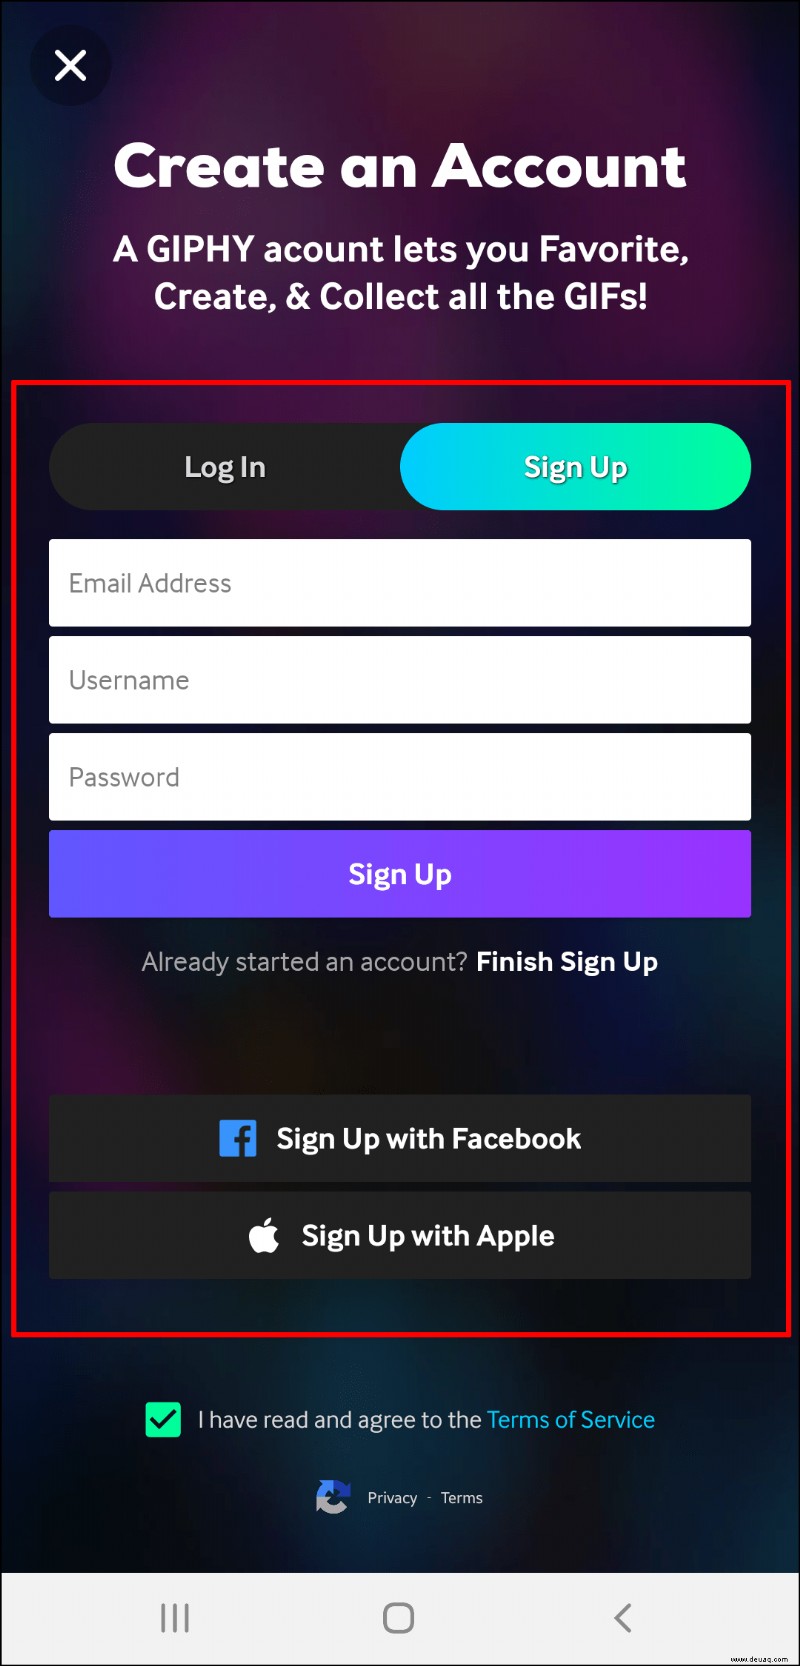
- Installieren und starten.
- Konto erstellen.
- "Erstellen" oben rechts.

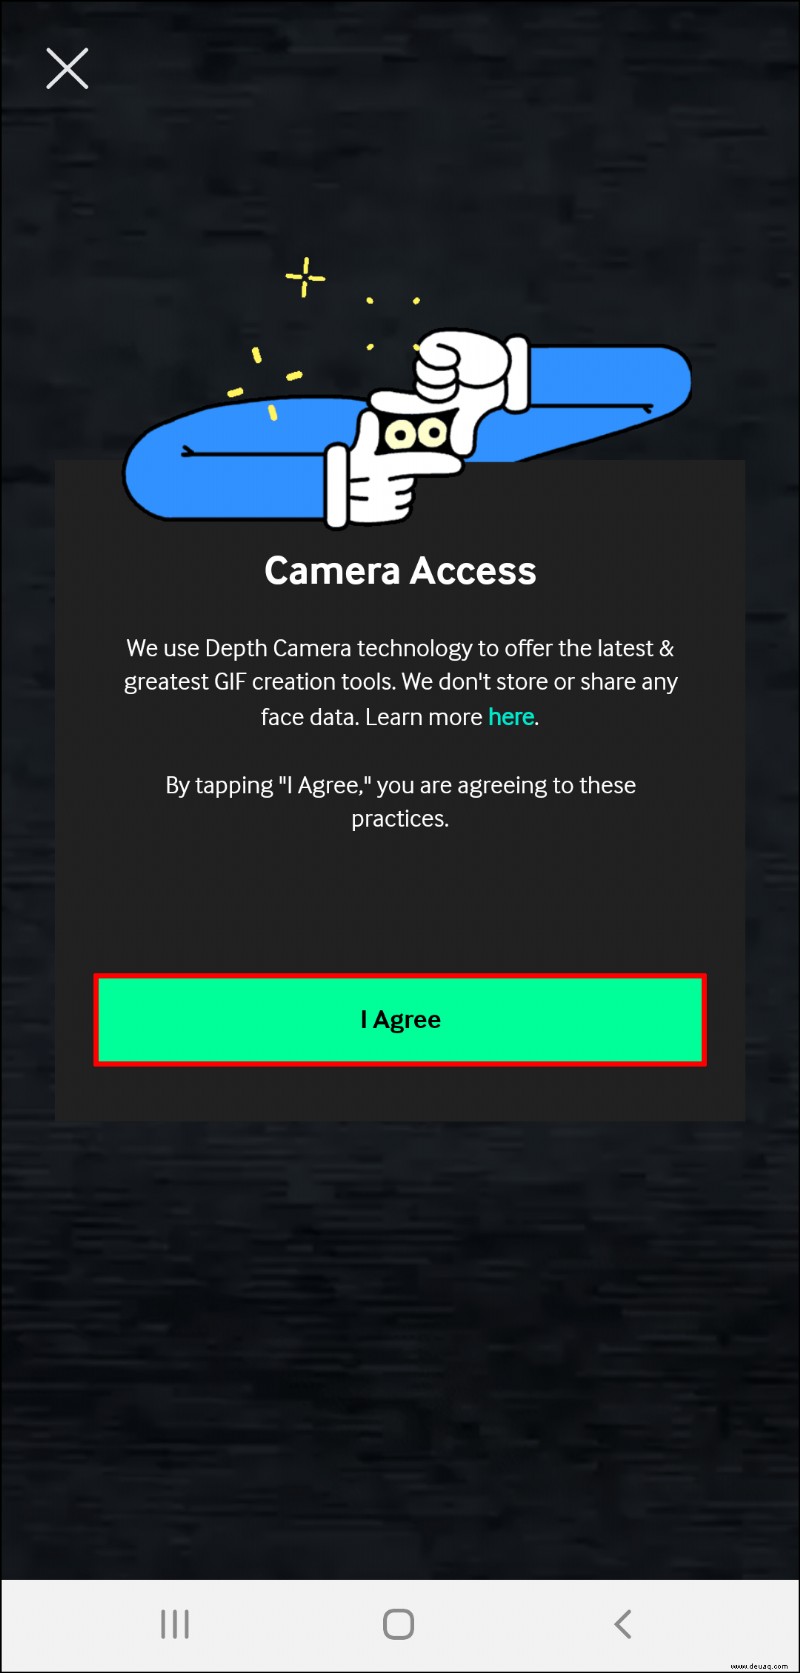
- Kamera-Zugriff erlauben.
- Video aus Galerie.
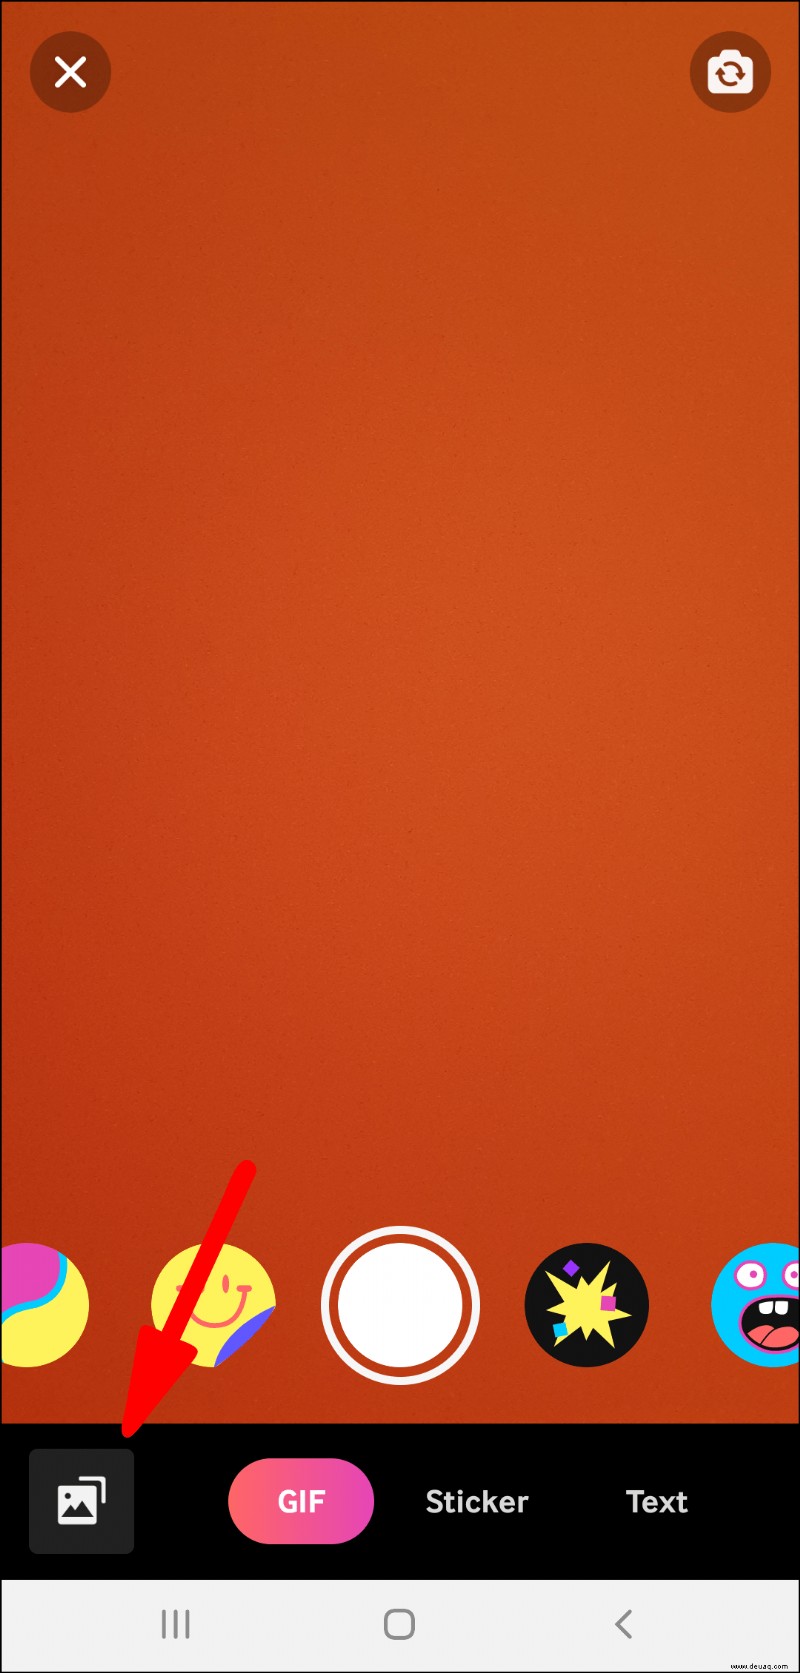
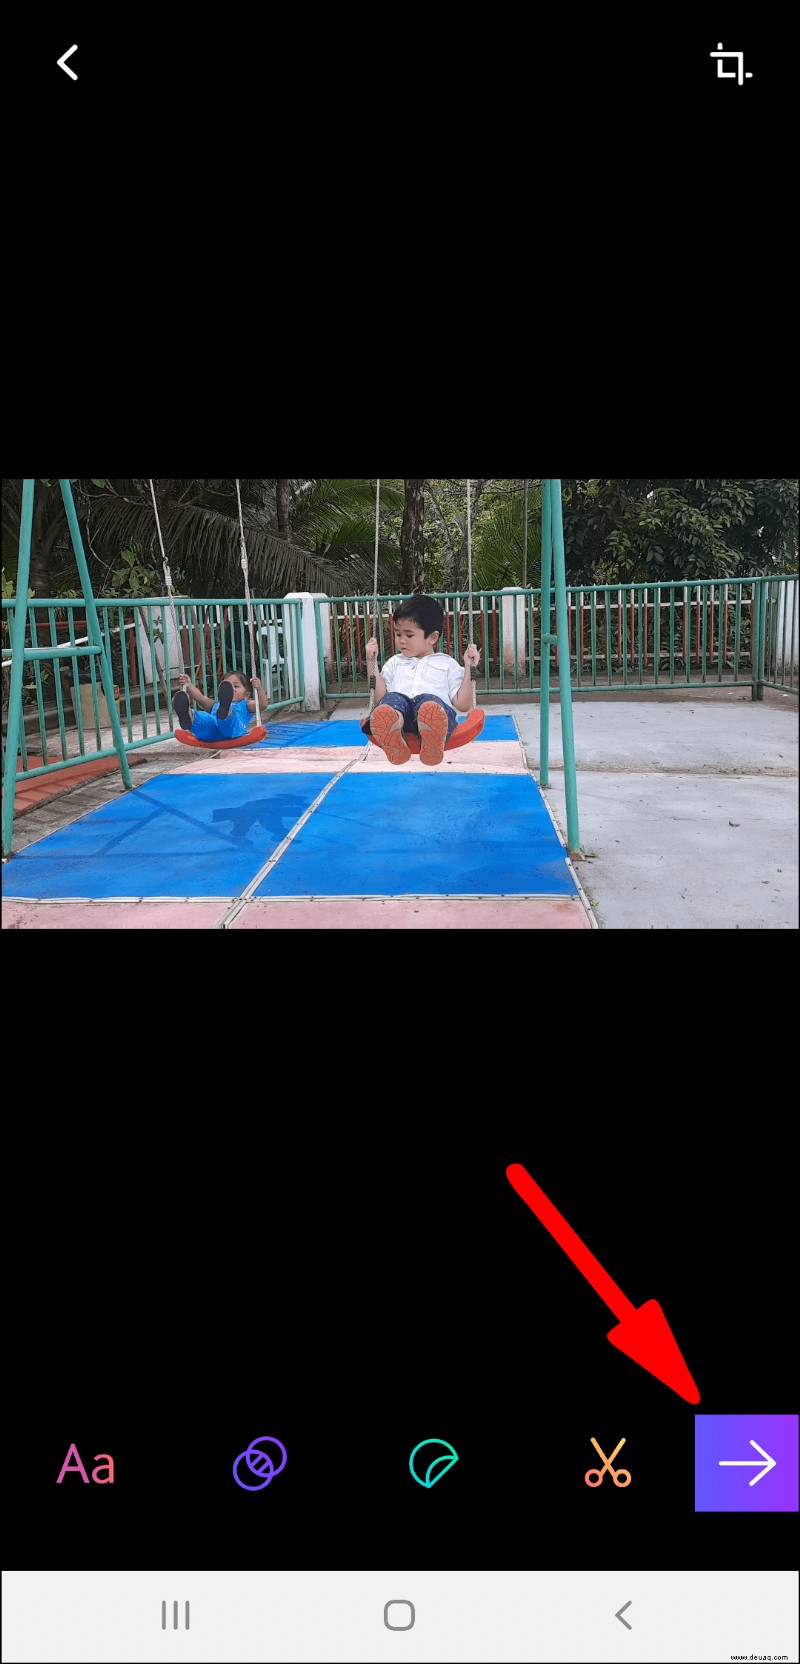
- Länge anpassen, Text/Sticker optional.
- Pfeil-Icon.
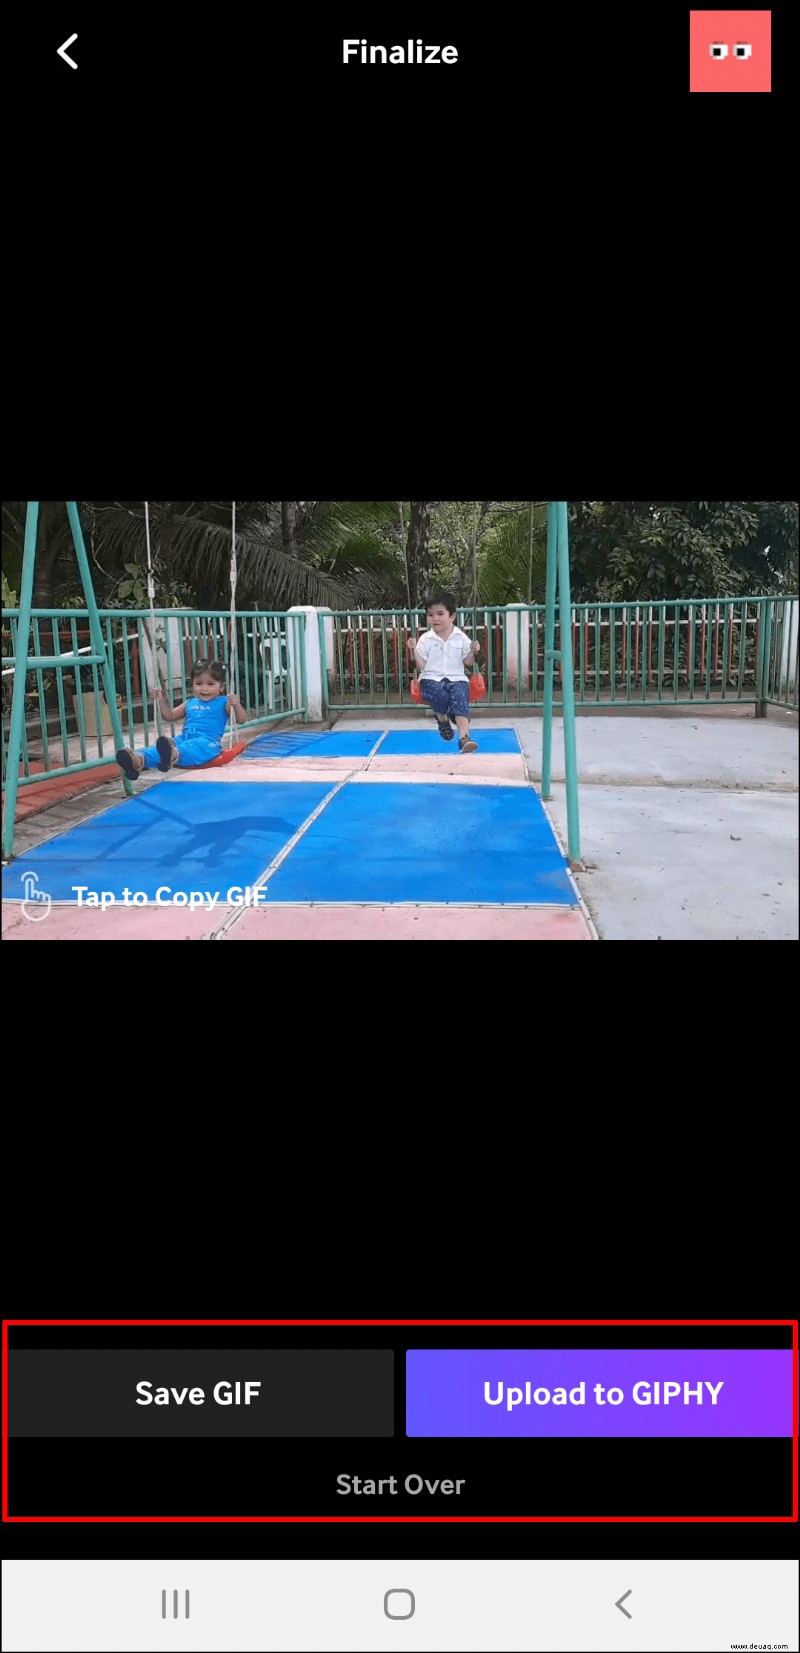
- "GIF teilen" > "GIF speichern".
GIFs ohne Einschränkungen exportieren
Ob Profi-Entwickler oder Einsteiger: Teilen Sie Ihre Figma-Designs einfach als GIF. Bis Figma native Exporte verbessert, sind diese Methoden bewährt und zuverlässig – auch offline.
Wir hoffen, diese Anleitung hilft Ihnen bei hochwertigen GIFs von jedem Gerät. Nutzen Sie Web- oder Mobile-Figma? Ihr Favorit-Tipp? Teilen Sie es in den Kommentaren!