TikTok zählt zu den erfolgreichsten Social-Media-Apps – und das zurecht. Ersteller laden kreative Videos mit Musik, Sketches, Challenges und mehr hoch. Der Erfolg basiert auf der enormen Kreativität, die die Plattform ermöglicht. Als Experten mit jahrelanger Praxis in Social-Media-Content zeigen wir Ihnen, wie Sie perfekte TikTok-Videos aufnehmen und bearbeiten.
Falls Sie Anfänger sind oder Ihre Skills auffrischen möchten, sind Sie hier richtig. Dieser Leitfaden basiert auf bewährten Methoden und deckt alles ab.
Der integrierte Editor von TikTok
TikToks eingebaute Editor-Tools erledigen grundlegende Aufgaben wie Filter, Weichzeichner, Soundtracks und mehr. Schauen wir uns die Bedienoberfläche an.
Beim Start empfiehlt die App passende Videos. Tippen Sie jederzeit auf das +-Symbol, um Ihr eigenes Video zu beginnen.
Wir gehen die wichtigsten Schritte durch. So nehmen Sie Videos auf:
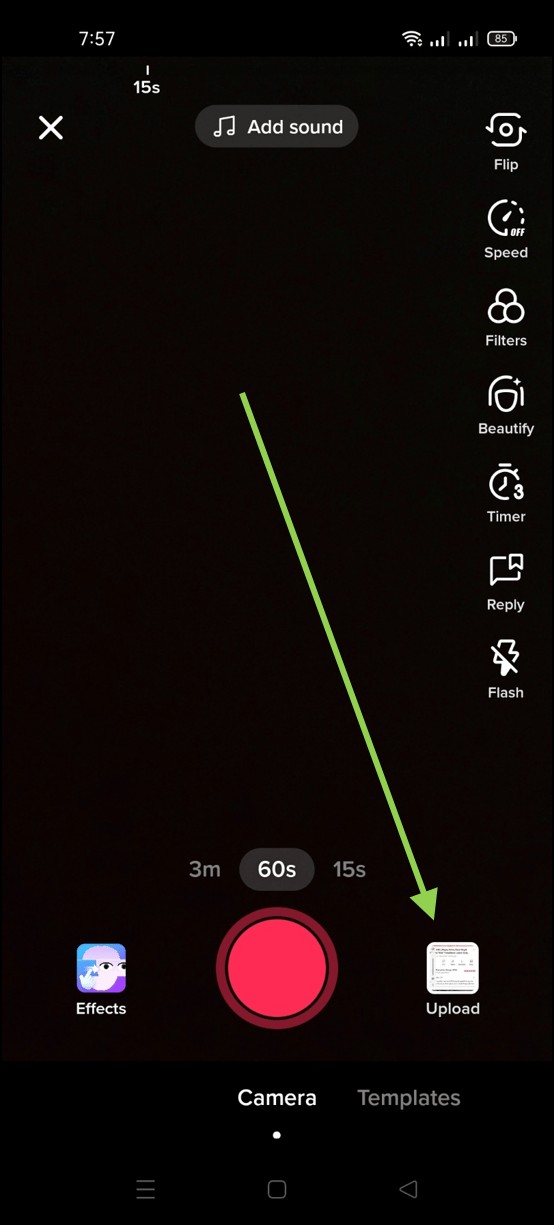
- Wählen Sie Effekte für Ihr Video aus.
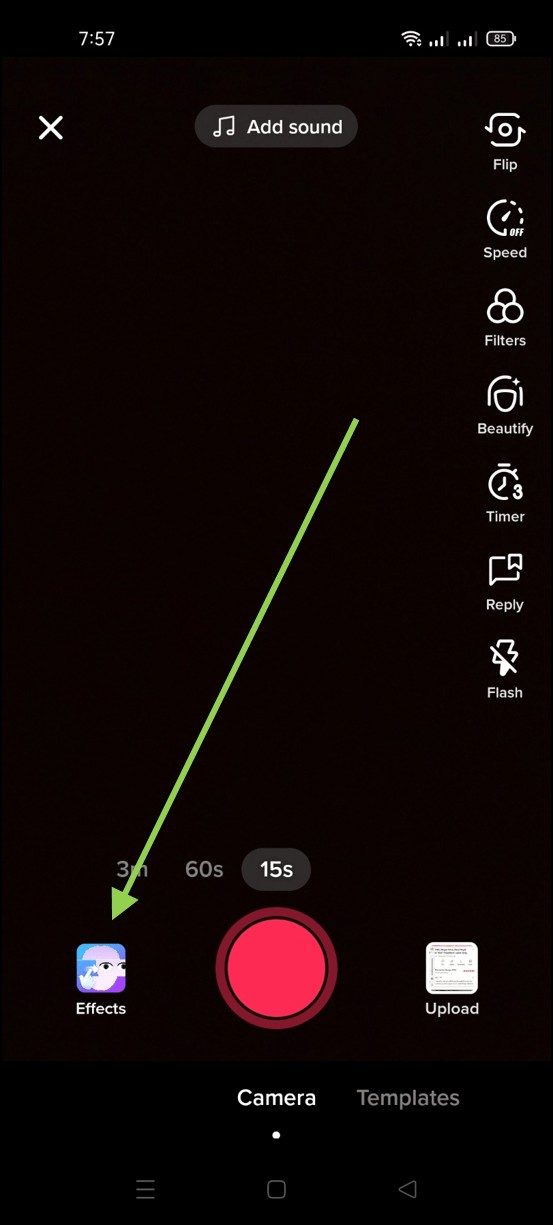
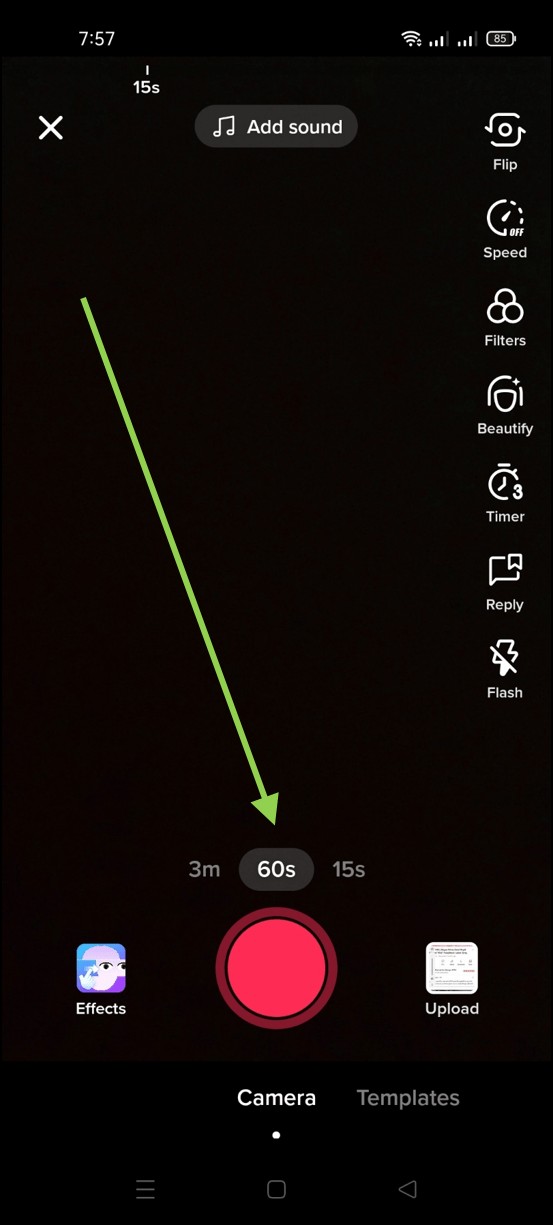
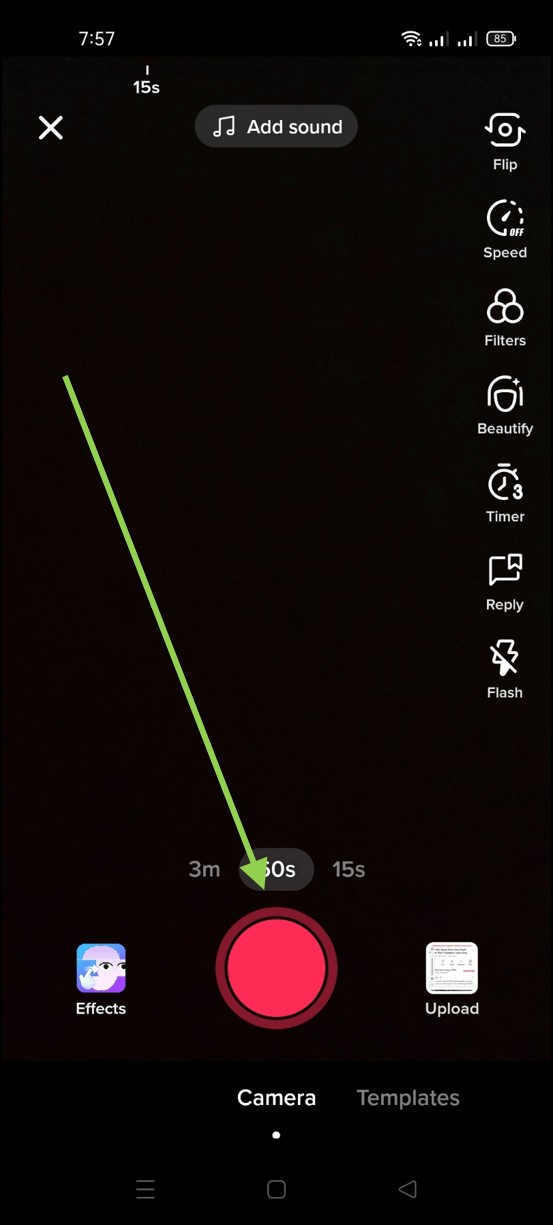
- Passen Sie die Aufnahmedauer mit dem Zeitwähler unten an.
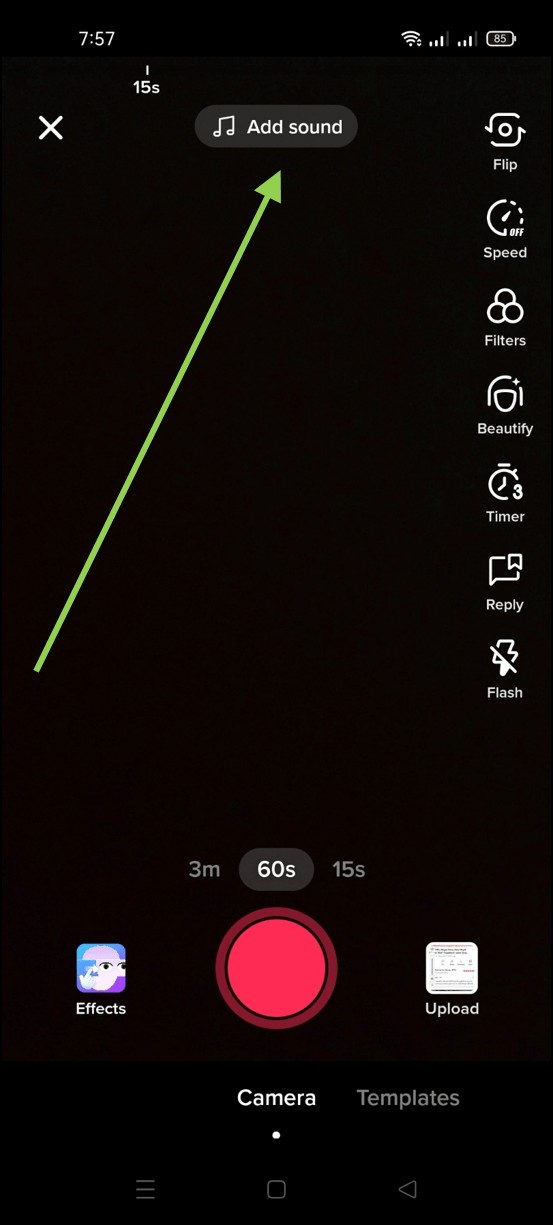
- Fügen Sie Musik hinzu: Tippen Sie auf Ton hinzufügen.
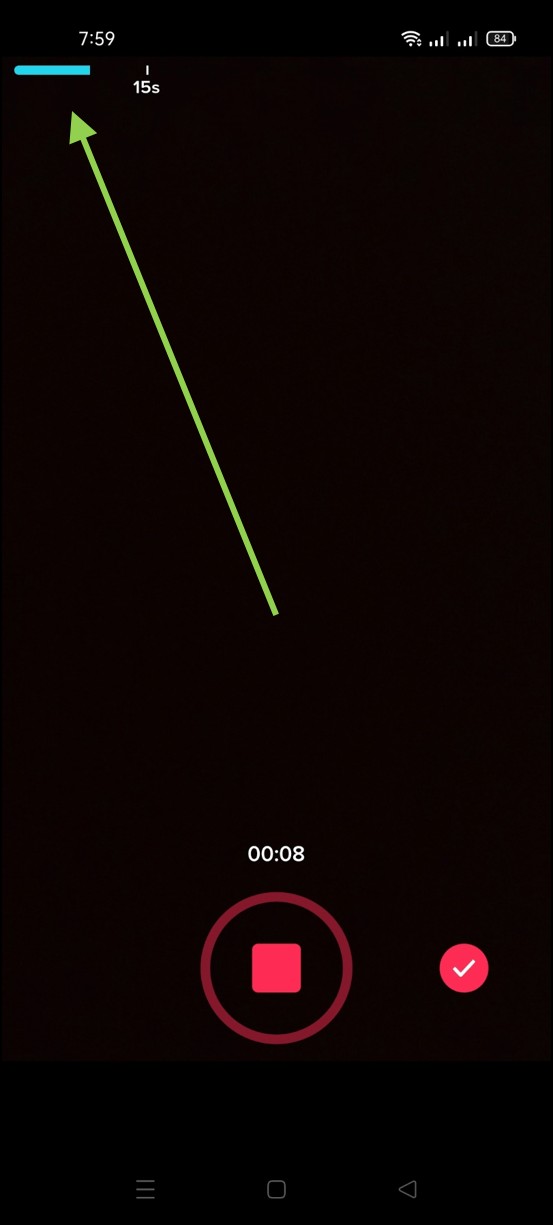
- Starten Sie die Aufnahme mit dem roten Symbol in der Mitte. Tippen Sie erneut zum Stoppen.
- Die blaue Linie oben zeigt Aufnahmedauer und Restzeit.
- Laden Sie Videos aus Ihrer Galerie hoch: Tippen Sie auf Hochladen rechts unten – ideal für externe Editoren.
Nach der Aufnahme starten Sie die Bearbeitung.
TikToks Bearbeitungstools im Überblick
Die Bearbeitungsoptionen sind vielfältig. Wir erklären sie der Reihe nach, basierend auf der Android-Version (iOS ist ähnlich).
Oben links: X bricht ab.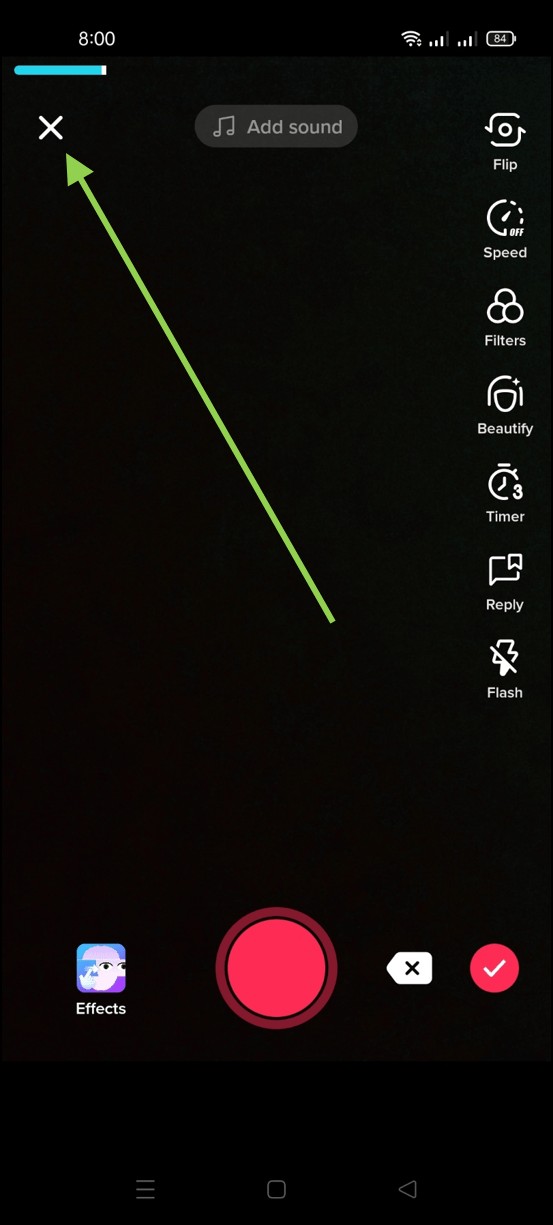
Ton hinzufügen: Zugriff auf die umfangreiche Bibliothek. Suchen Sie Songs, Playlists oder synchronisieren Sie vor der Aufnahme.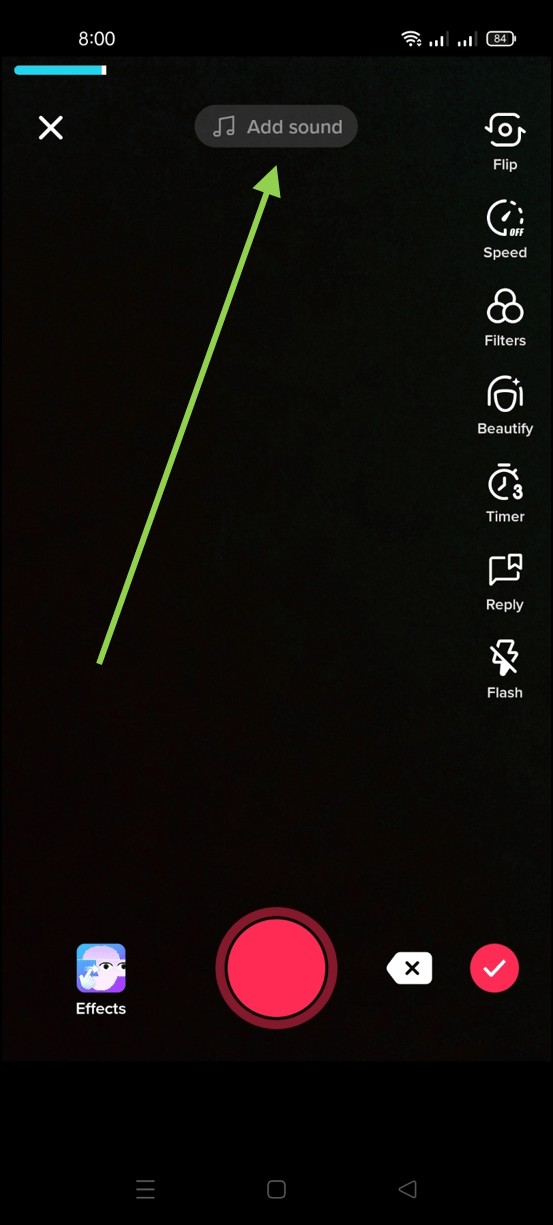
Flip: Wechselt Front- zur Rückkamera – perfekt für Selfies.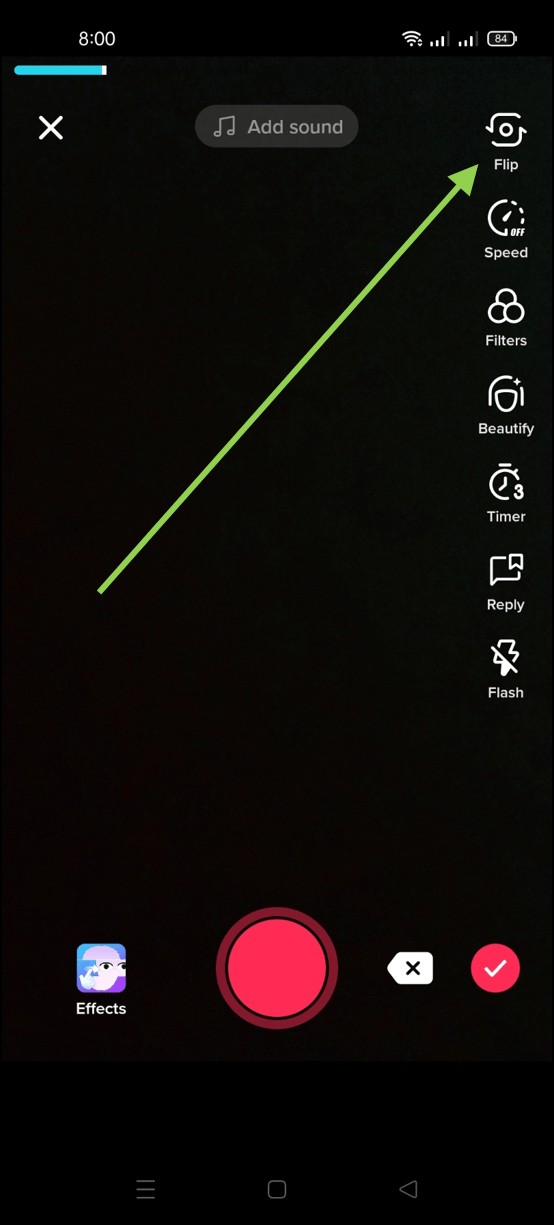
Geschwindigkeit: Von 0,1x bis 3x – Slow-Motion bis Time-Lapse.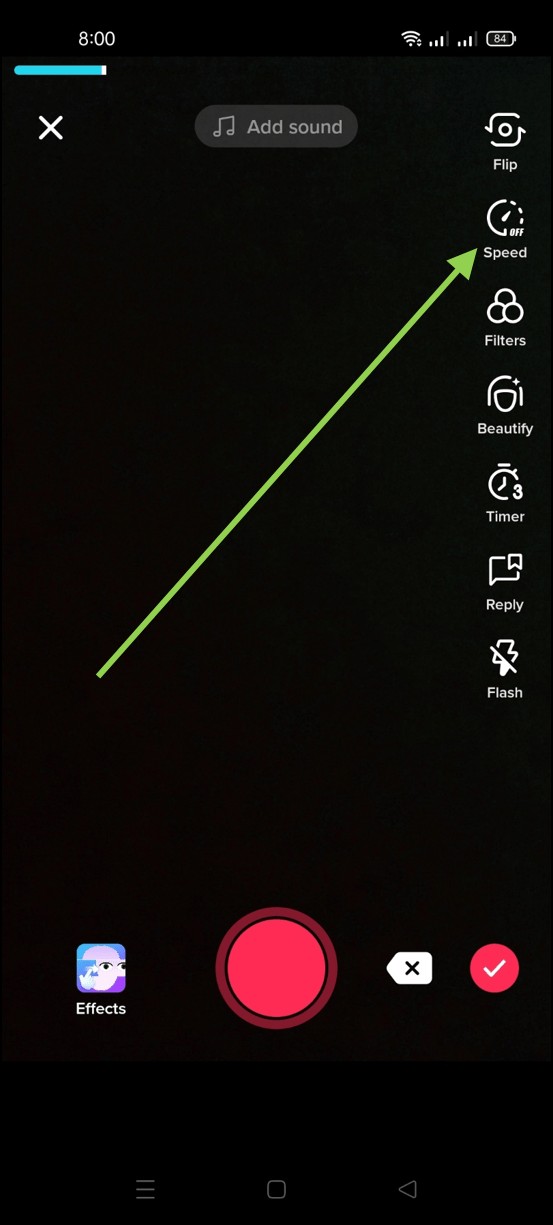
Filter: Kategorien Portrait, Life, Vibe. Wählen Sie Normal für Original.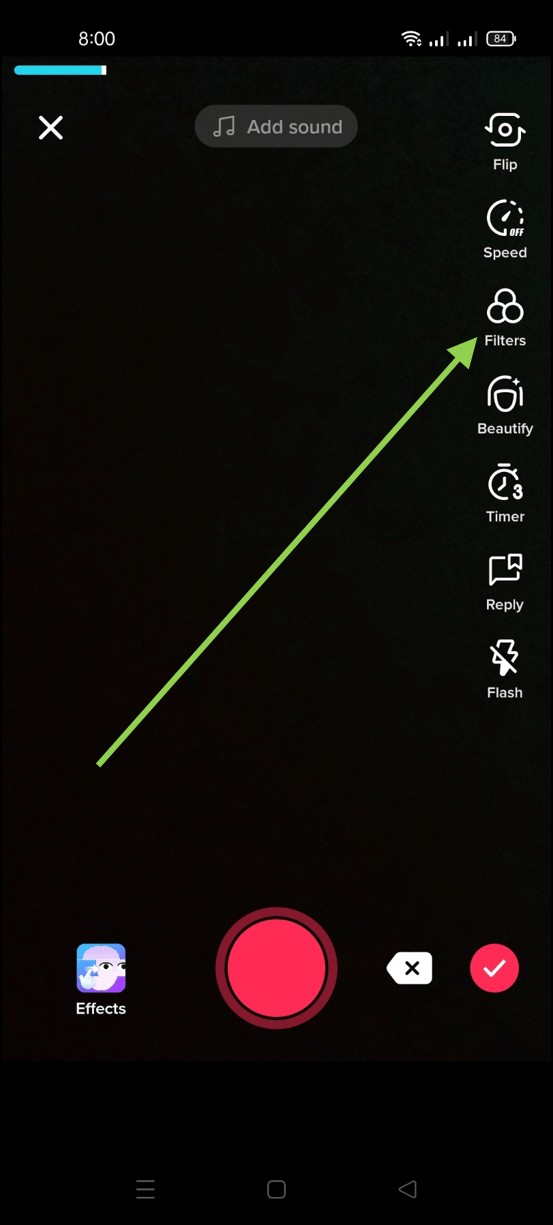
Beauty: Subtile Schattenentfernung.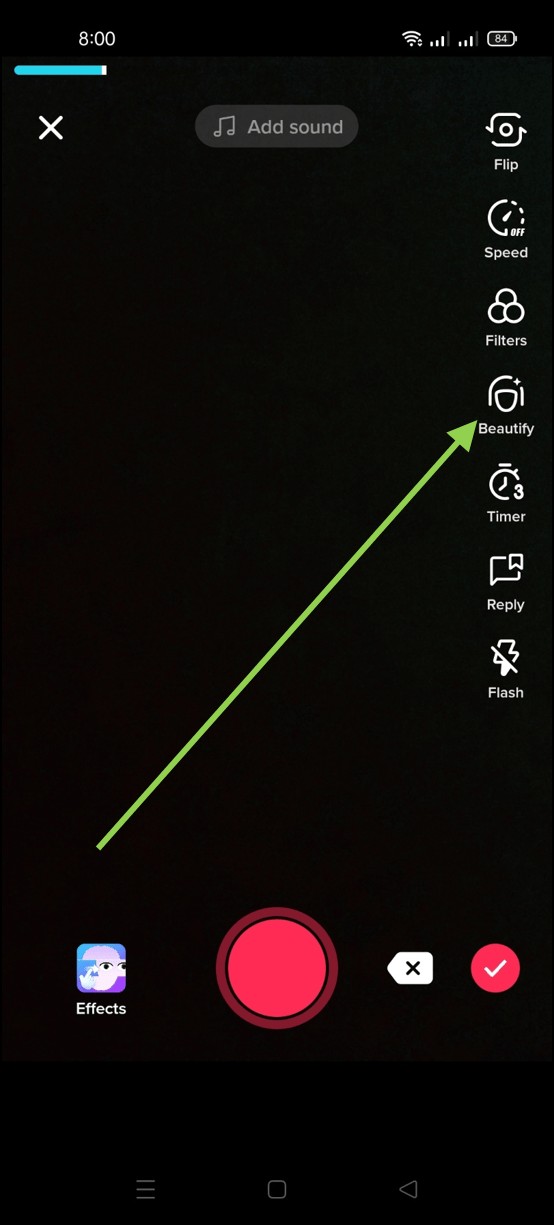
Timer: Bis 60 Sekunden automatisierte Aufnahme.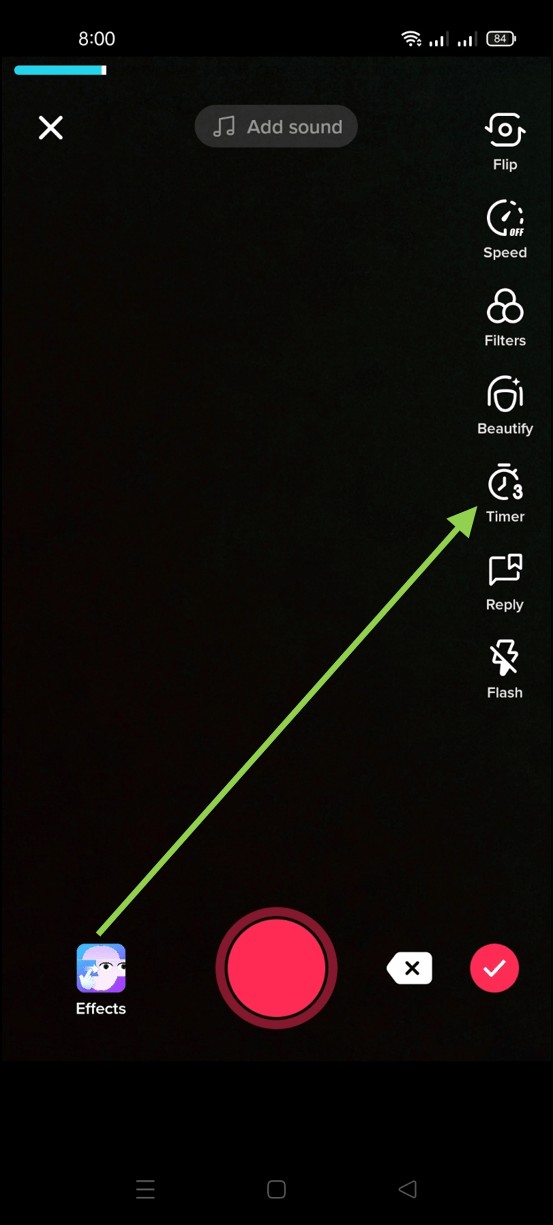
Blitz: Ein-/Ausschalten je nach Beleuchtung.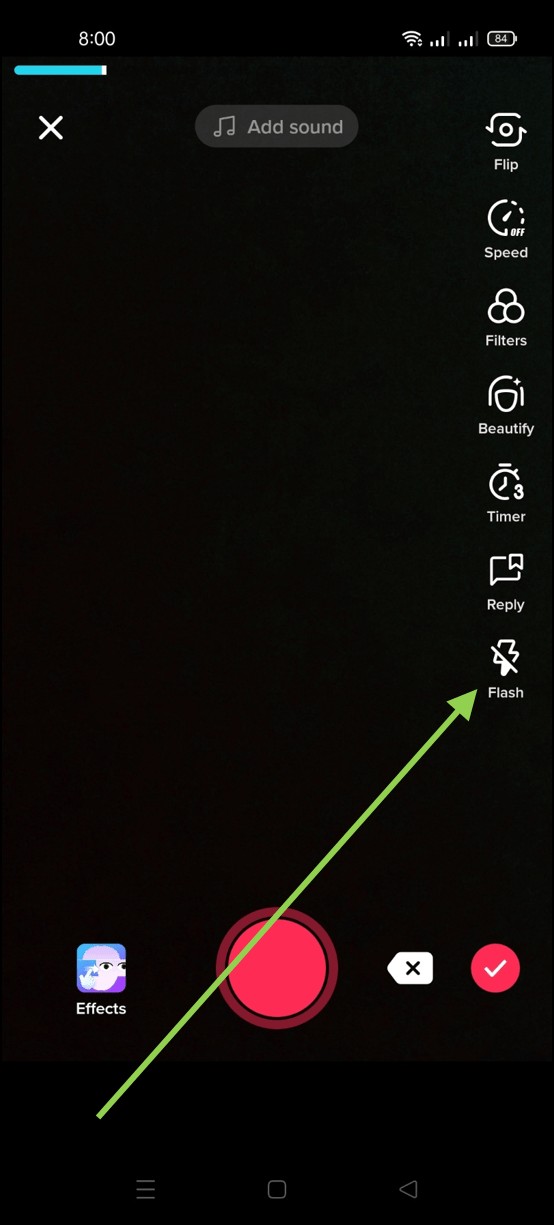
Rechts vom Aufnahmesymbol: Hochladen für Galerie-Videos.
Das rote Symbol startet manuelle Aufnahme.
Effekte: Effekte-Bibliothek mit Trending, Face, Animal usw.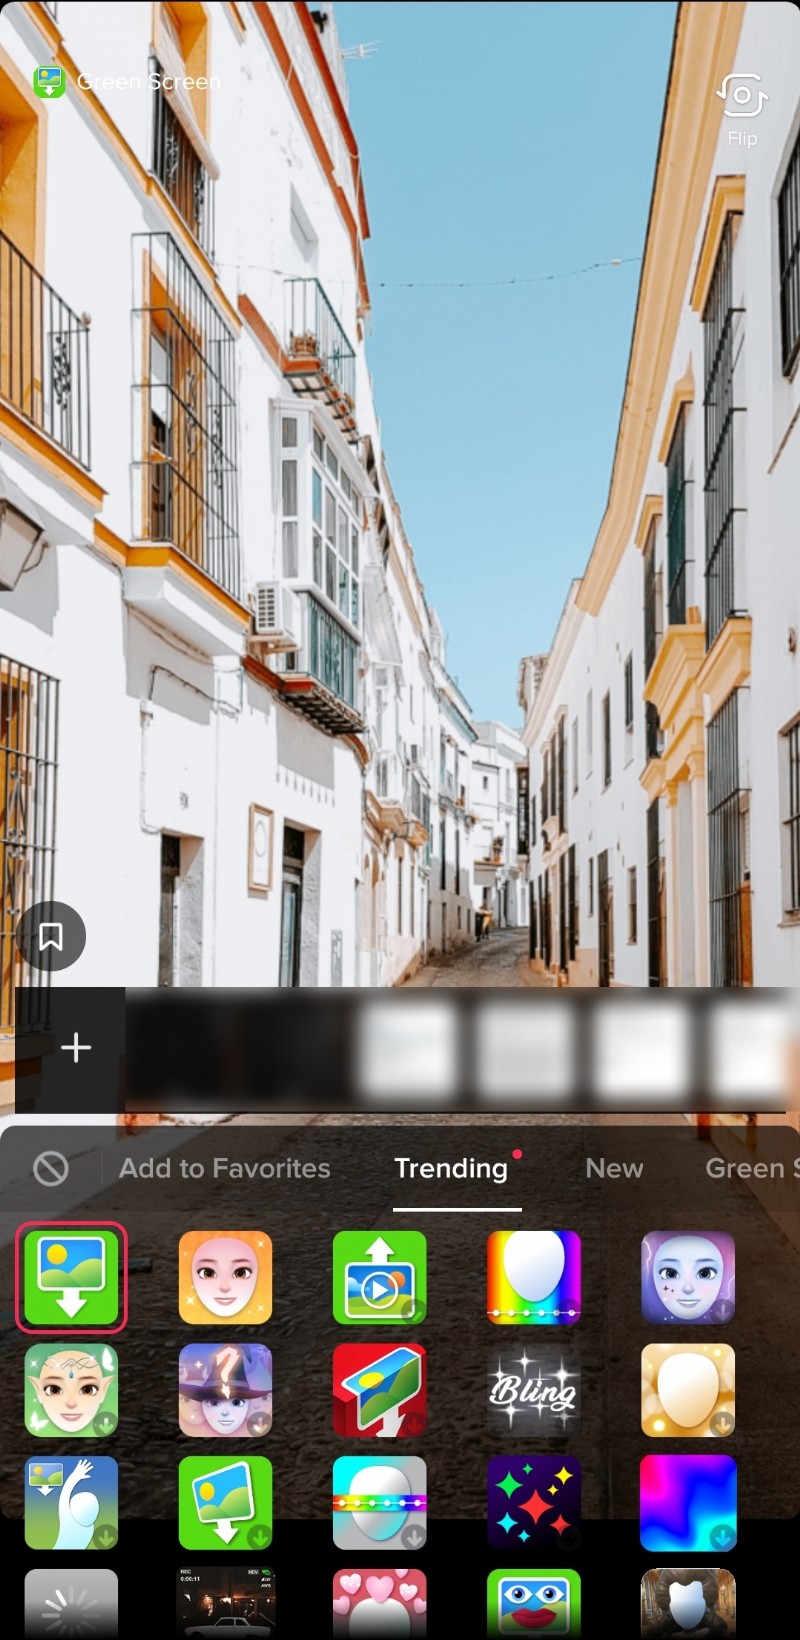
Video bearbeiten
Rechts neben dem Aufnahmesymbol: X löscht, Häkchen speichert und geht zur Nachbearbeitung.
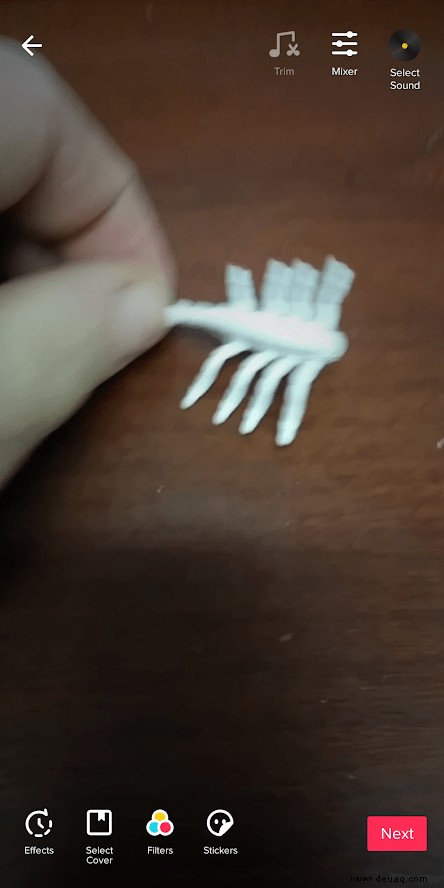
Video loop-t automatisch. Zurück für Ergänzungen, Trim kürzen, Mixer für Soundbalance.
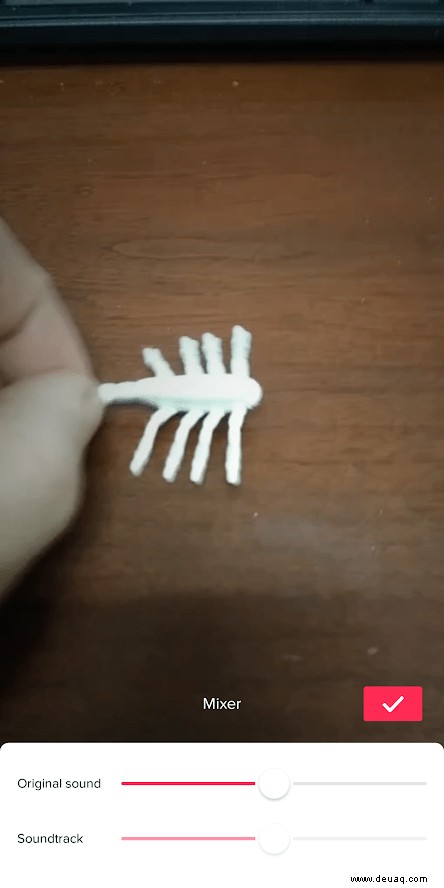
Sound auswählen: Bibliothek wie zuvor.
Segmente bearbeiten
Effekte: Timeline für selektive Anwendung – Kern für kreative Videos.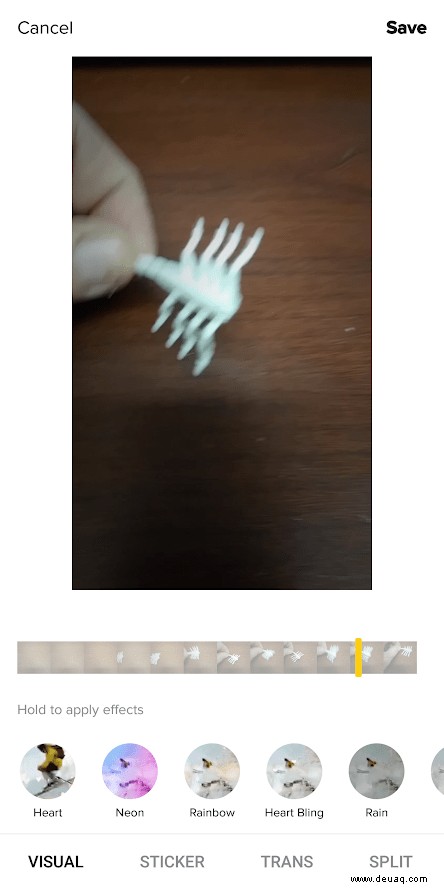
Cover festlegen: Beste Frame als Vorschaubild.
Filter: Für das gesamte Video.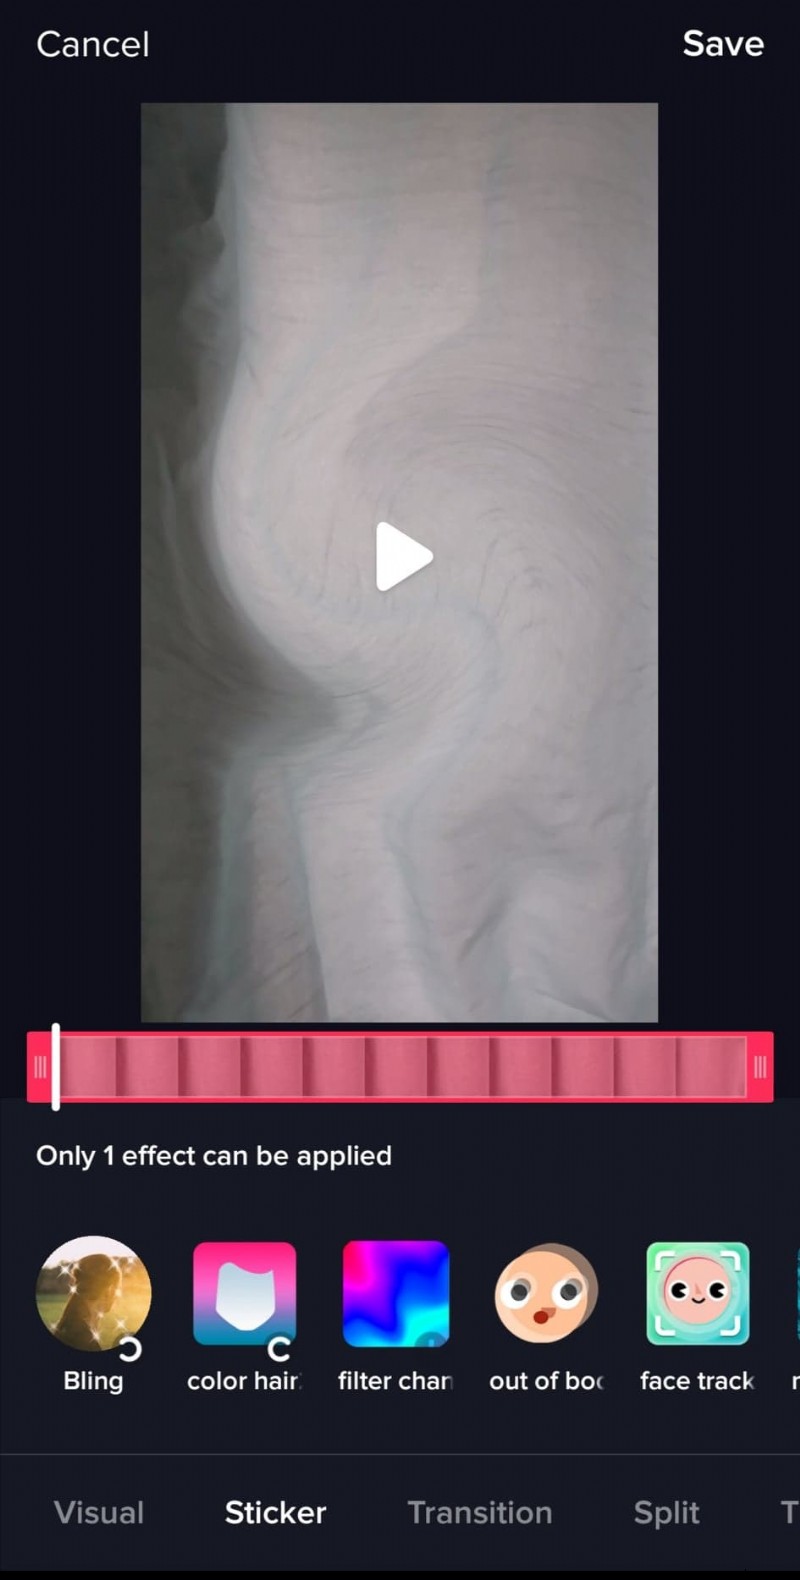
Sticker: Animierte Elemente, verschiebbar.
Weiter: Zum Posten.
Video posten
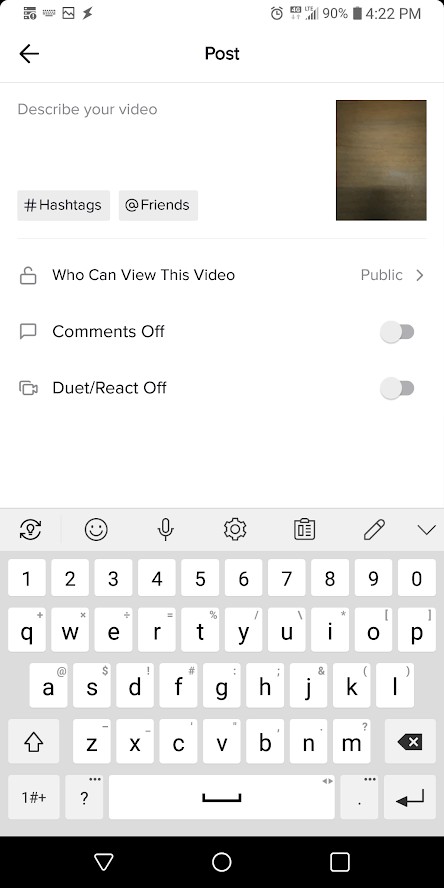
Beschreibung mit Hashtags und @Mentions. Sichtbarkeit: Öffentlich, Freunde, privat. Kommentare, Duets, Reaktionsvideos steuern. Teilen auf anderen Plattformen. Entwurf speichern oder Posten.
Der Editor ist leistungsstark für die meisten. Für Profis: Externe Tools.
Externe Editoren nutzen
Externe Editoren bieten mehr. Zuerst Video posten (privat), dann herunterladen: Profil > Video > drei Punkte > Herunterladen.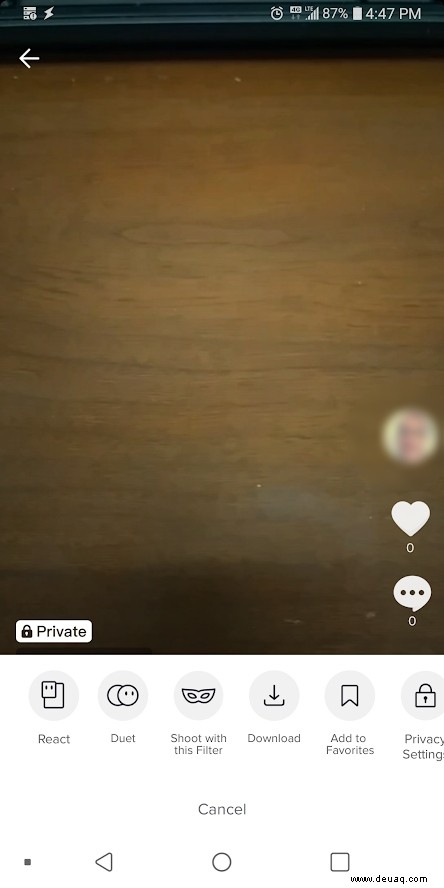
Mobile Video-Editoren
Apps wie PowerDirector, InShot (Android) oder iMovie, Splice (iOS) sind praktisch, aber begrenzt.
Desktop-Editoren
Desktop-Software nutzt volle Hardware-Power.
Adobe Premiere Elements
Lite-Version von Premiere Pro: Effekte, Tools für TikTok. $99, Free Trial.
Corel VideoStudio
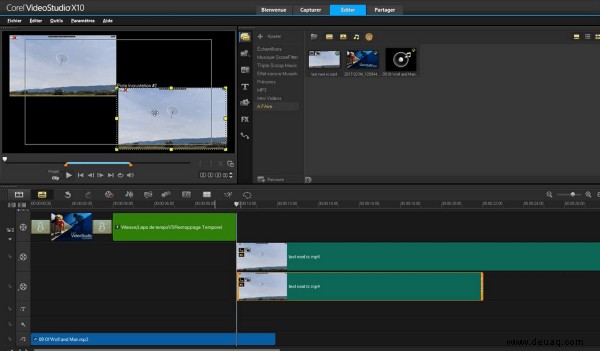
Professionell, benutzerfreundlich. Pro: $69, Ultimate: $99. Free Trial.
Tipps für professionelle Videos
Aus Praxiserfahrung:
Desktop-Editor bevorzugen
Bessere Performance und Features.
Video-Kamera + Stativ
Ab $40–100: Mikrofon-Eingang, Zoom, LCD. Stativ essenziell.
Beleuchtung optimieren
LEDs: Key-, Fill-, Backlight oder Ringlicht.
Hintergründe pflegen
Neutral, schattenfrei. Einfarbiges Tuch.
Sound priorisieren
Externes Mikrofon nah am Subjekt, Hintergrundgeräusche minimieren.
Drittel-Regel
Subjekt an Gitterlinien platzieren.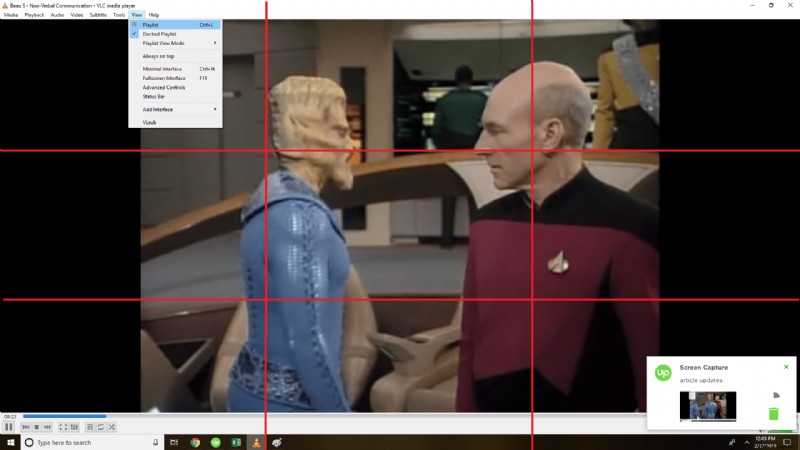
Präsenz aufbauen
Offene Haltung, Lächeln, klare Aussprache, Üben.