Als erfahrener IT-Spezialist mit jahrelanger Praxis in Netzwerkkonfigurationen erkläre ich Ihnen, wie Portweiterleitung funktioniert. Sie leitet eingehenden und ausgehenden Datenverkehr zwischen Ihrem Heimnetzwerk und externen Servern um. Jedes Gerät nutzt eine eindeutige IP-Adresse mit Ports für die Kommunikation.
Aus Sicherheitsgründen öffnen Router nur ausgewählte Ports für wesentliche Dienste. Für Online-Gameserver oder spezielle Apps müssen Sie eine Portweiterleitungsregel in Ihrem Router oder der Windows-Firewall erstellen.
Ports unter Windows 10 weiterleiten
Erstellen Sie eine Regel über das Windows-Sicherheitsmenü. Folgen Sie diesen bewährten Schritten:
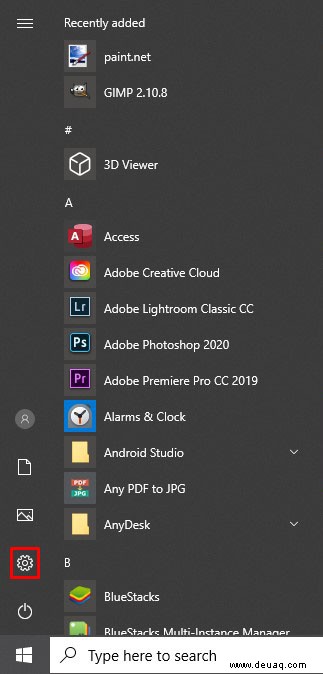
- Klicken Sie auf das Windows-Symbol links unten.

- Wählen Sie das Einstellungen-Symbol (Zahnrad) über dem Windows-Logo.
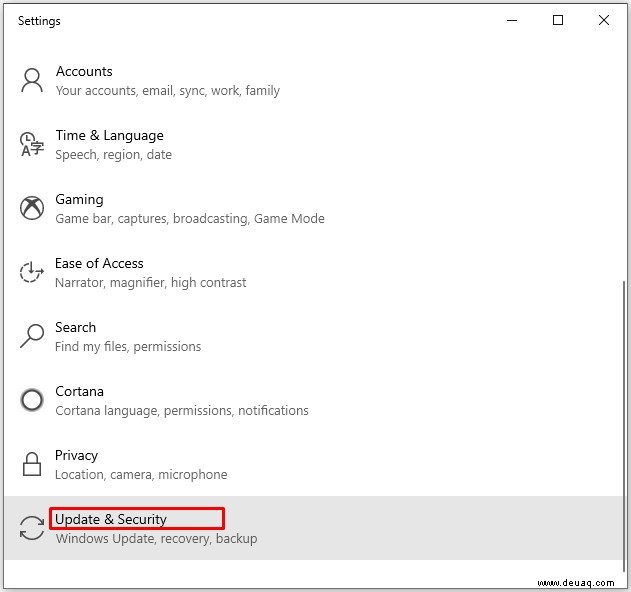
- Klicken Sie auf „Update & Sicherheit“.
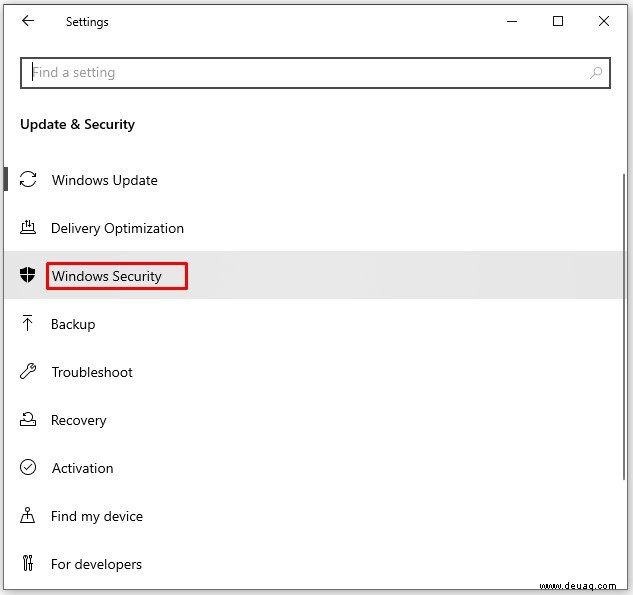
- Links auf „Windows-Sicherheit“.
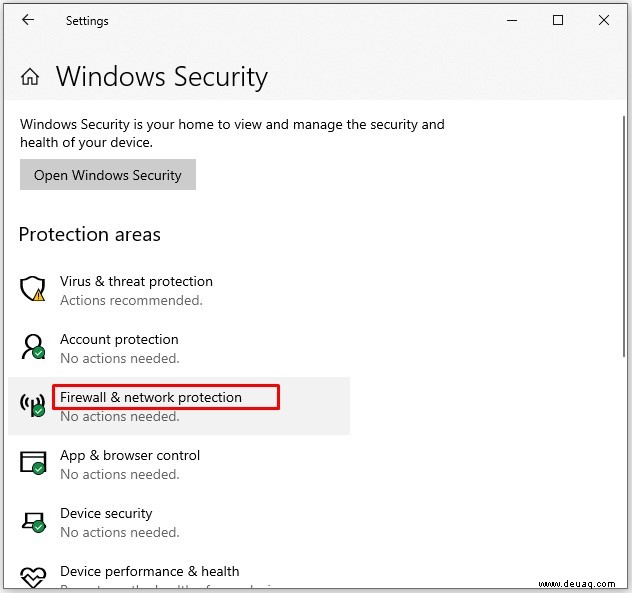
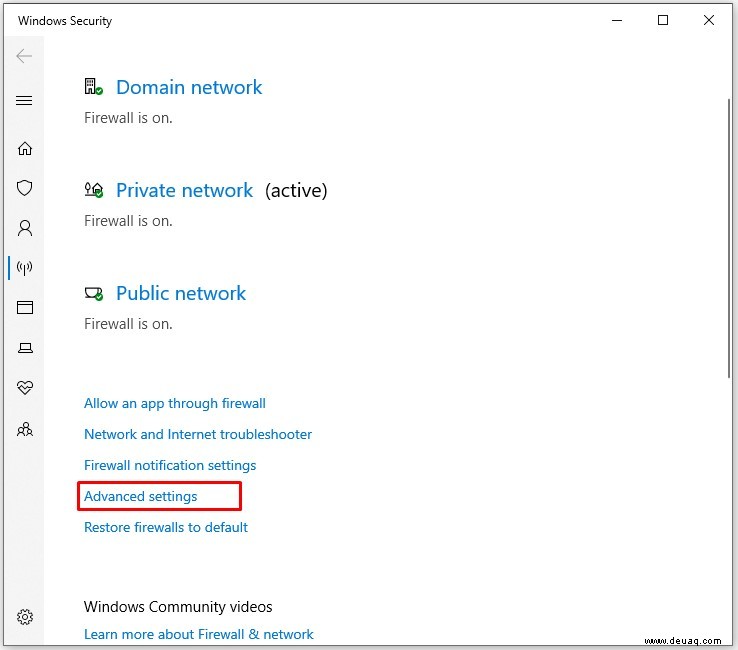
- Im Hauptbereich „Firewall & Netzwerkschutz“.
- Öffnet sich ein neues Fenster? Klicken Sie unten auf „Erweiterte Einstellungen“.
- Bestätigen Sie ggf. die Benutzerkontensteuerung mit „Ja“.
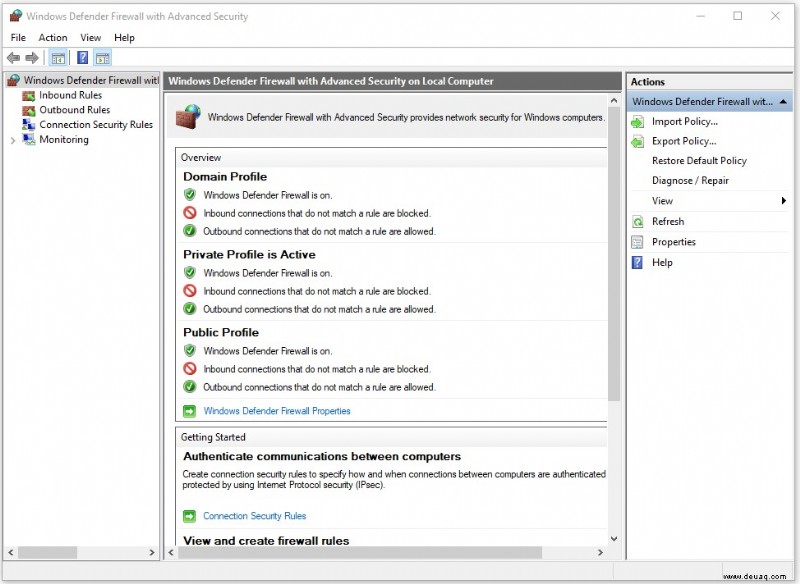
- Nun öffnet sich „Windows Defender Firewall mit erweiterter Sicherheit“.
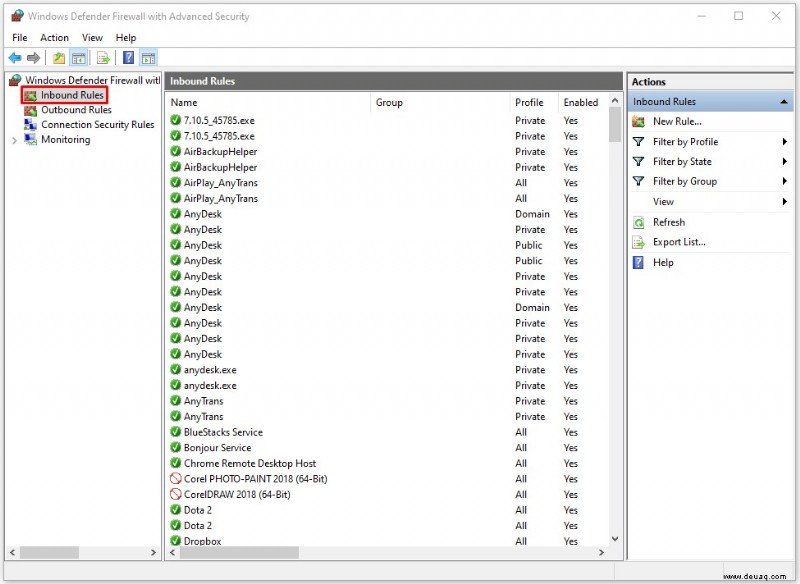
- Links „Eingehende Regeln“ – sehen Sie bestehende Regeln.
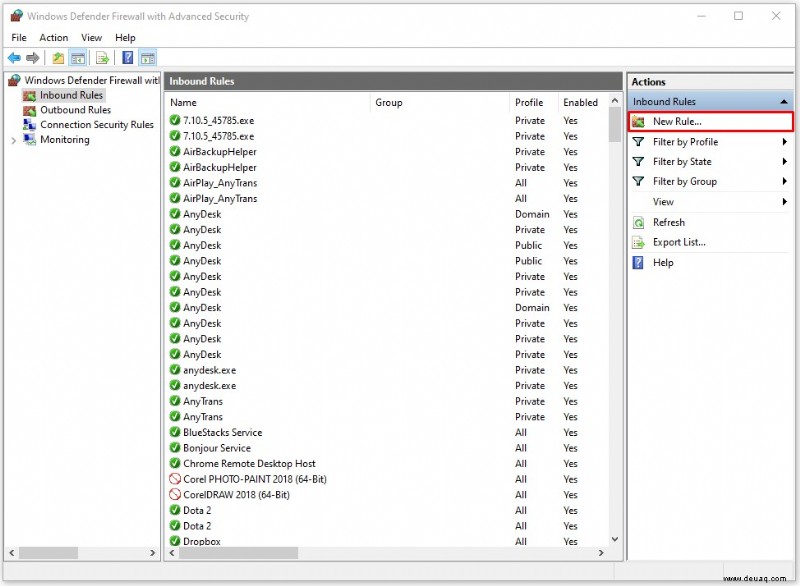
- Rechts „Neue Regel…“.
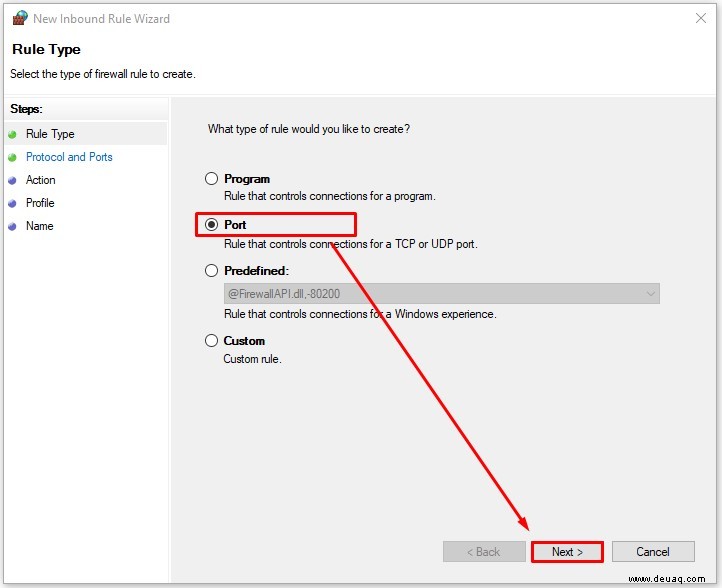
- Assistent: „Regeltyp“.
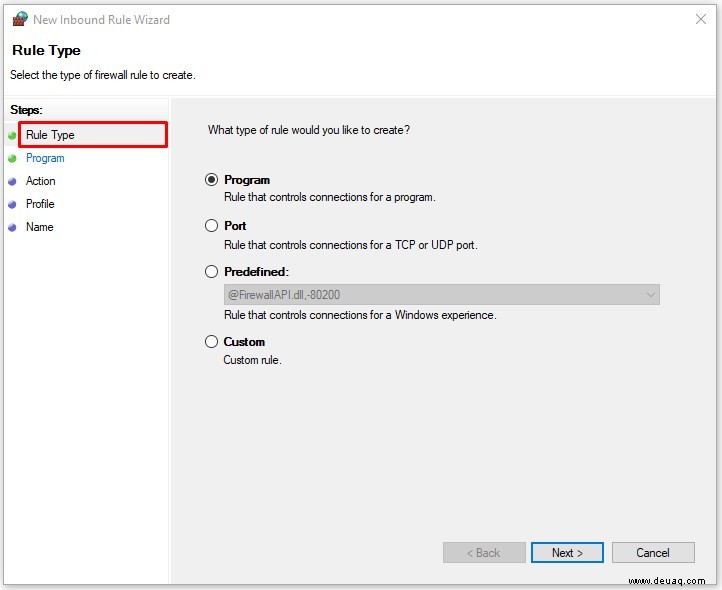
- „Port“ auswählen, „Weiter“.
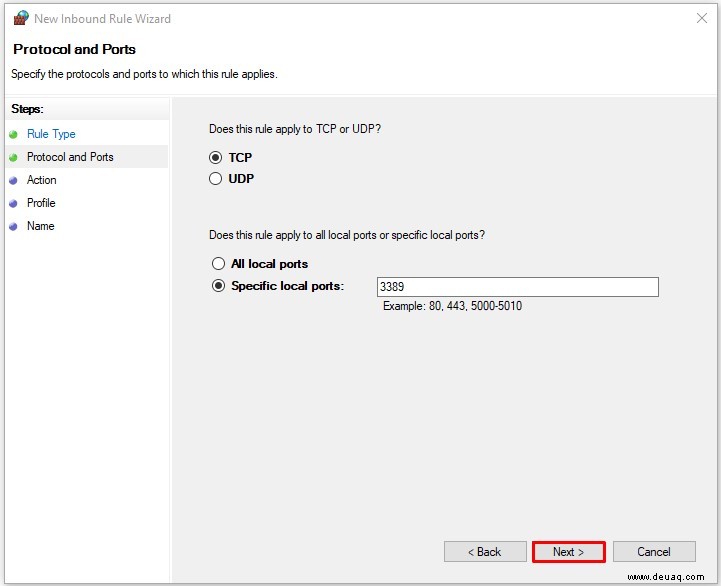
- „TCP“ oder „UDP“ wählen.
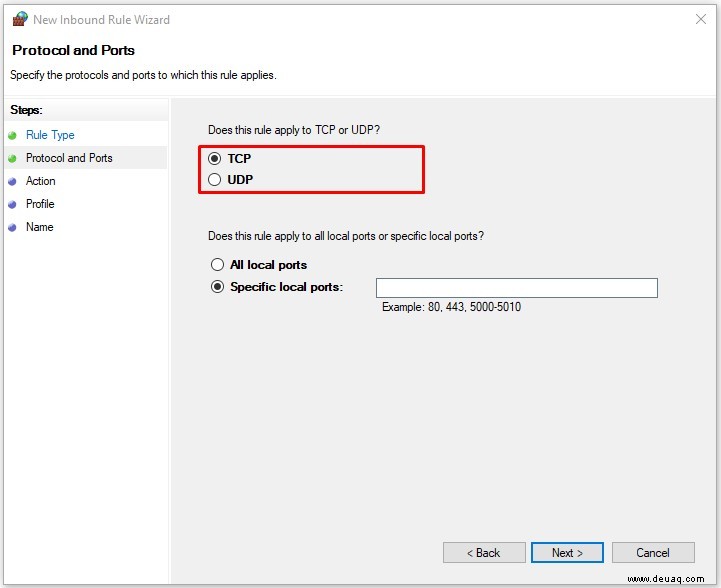
- „Bestimmte lokale Ports“.
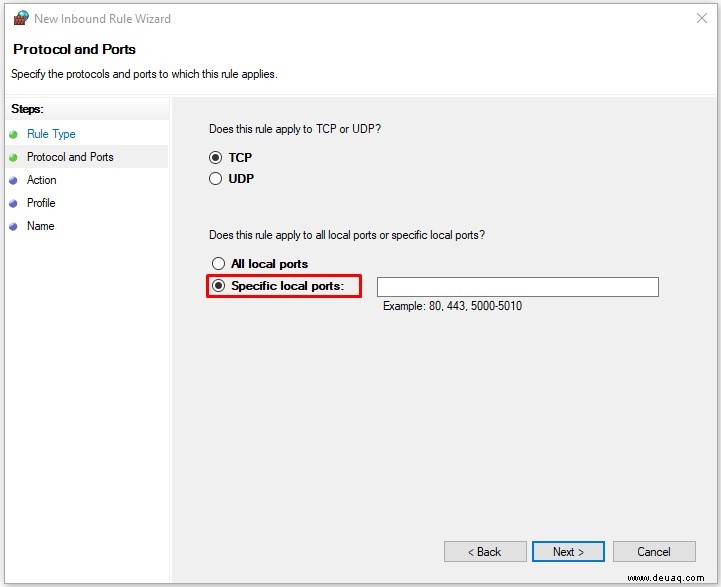
- Portnummer(n) eingeben: z.B. 5000-5010, 80,443 oder Kombi.
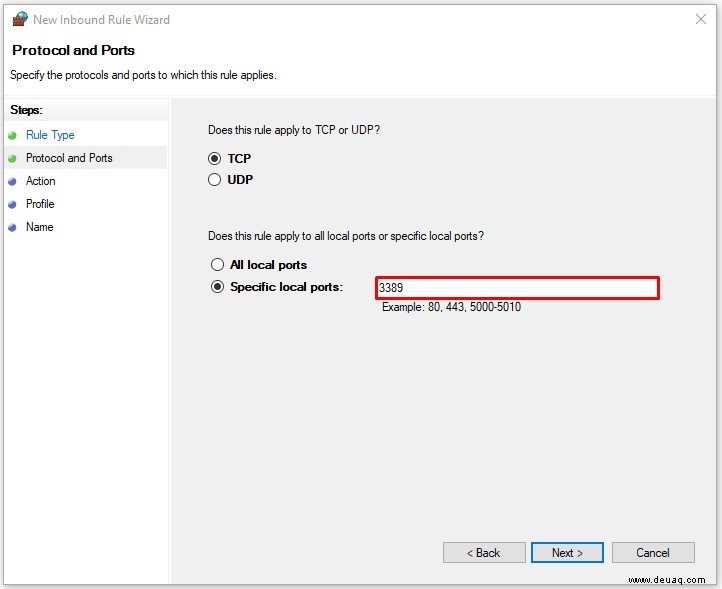
- „Weiter“.
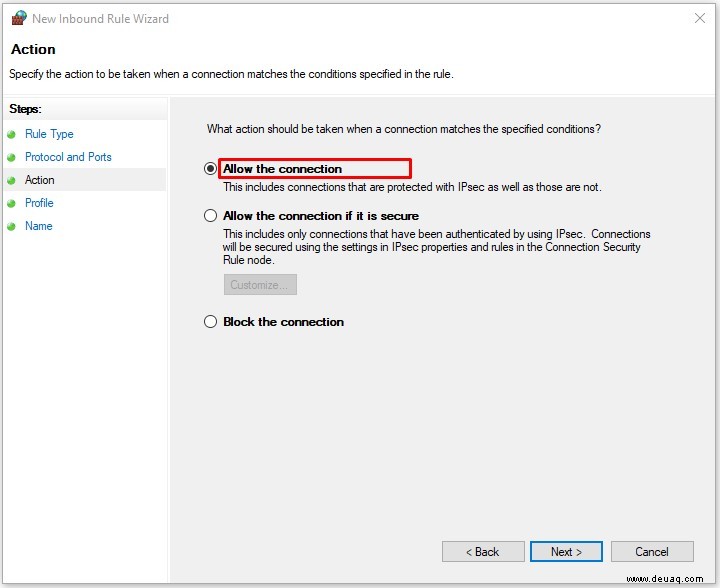
- „Verbindung zulassen“, „Weiter“.
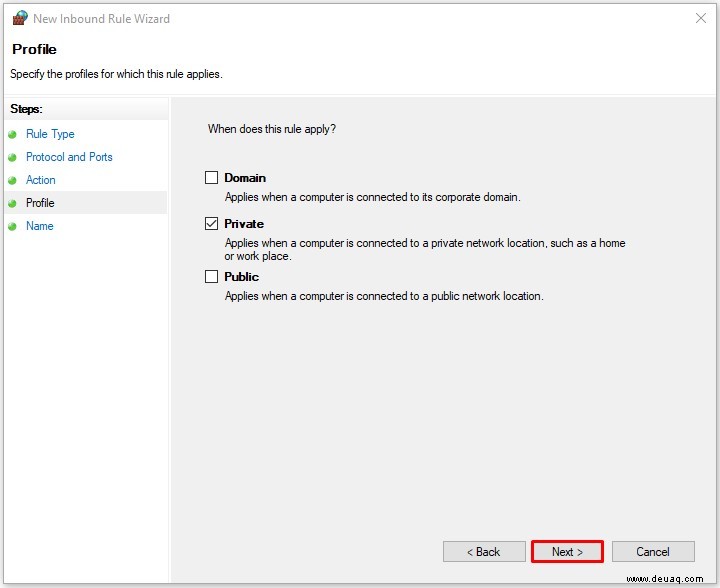
- Netzwerke: Domäne, Privat, Öffentlich (Vorsicht bei Öffentlich!).
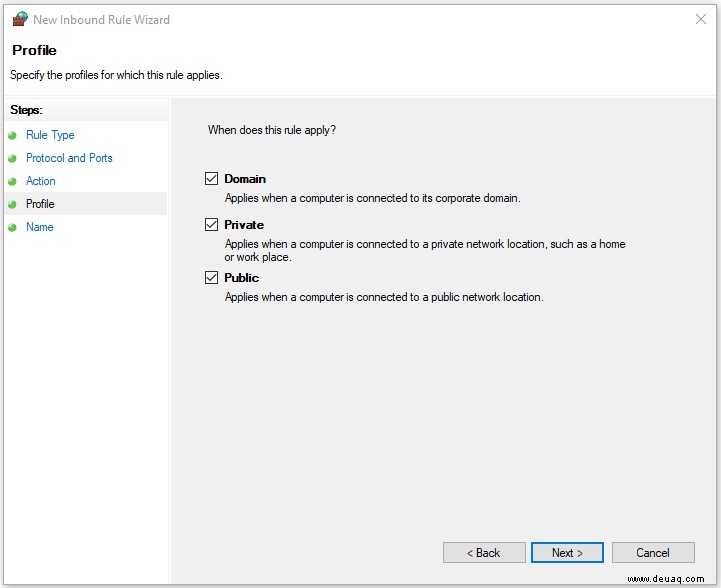
- „Weiter“.
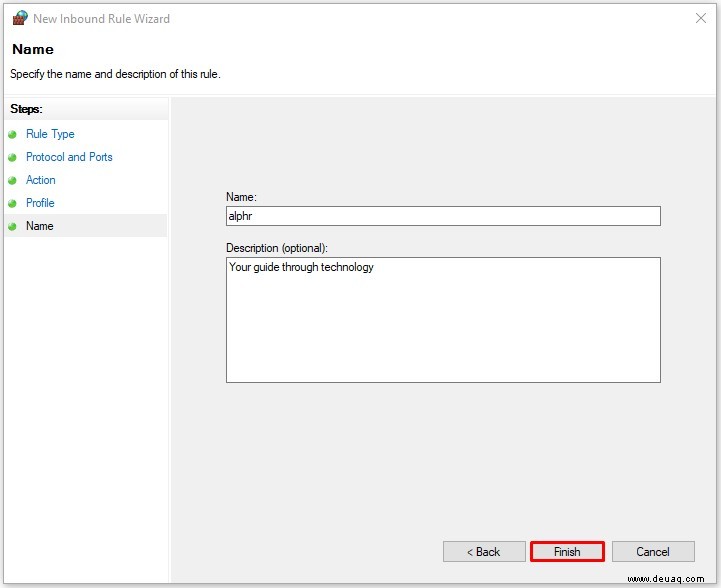
- Namen und Beschreibung eingeben.
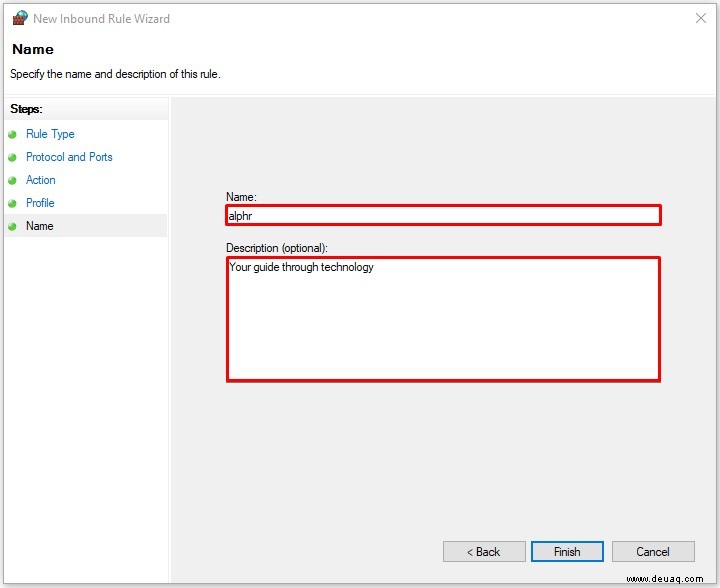
- „Fertig stellen“.
- Regel erscheint in der Liste.
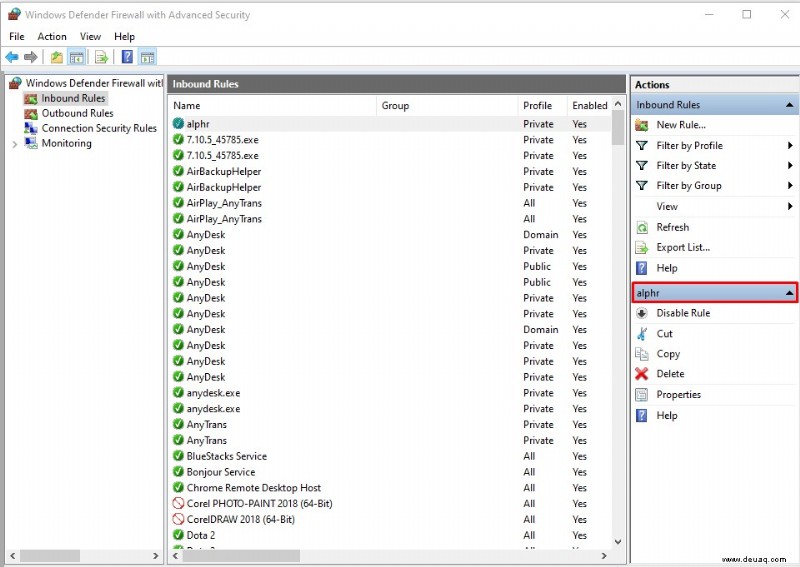
Deaktivieren: Regel auswählen, rechts „Regel deaktivieren“.
Ports für Minecraft weiterleiten
Minecraft nutzt standardmäßig Port 25565. Konfigurieren Sie dies im Router-Menü:
- Browser öffnen.

- Adresse: 192.168.1.1 eingeben.
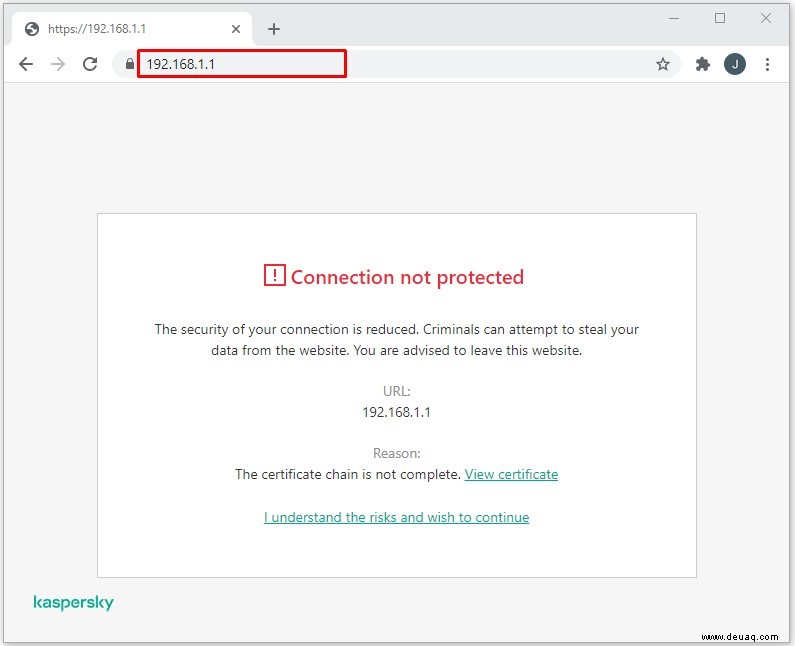
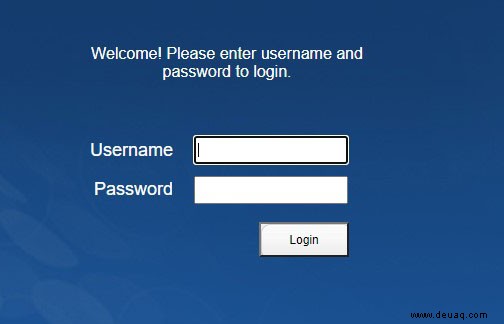
- Benutzername/Passwort eingeben.
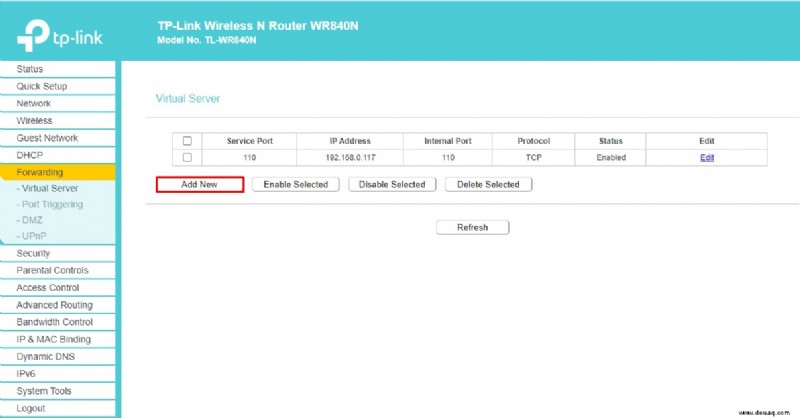
- „Portweiterleitung“ oder „Weiterleitung“ finden (links/rechts/oben; ggf. Einstellungen/Erweiterte). Handbuch konsultieren.
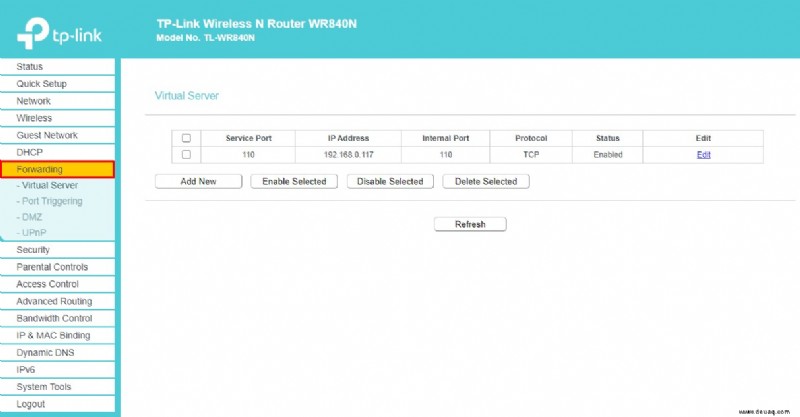
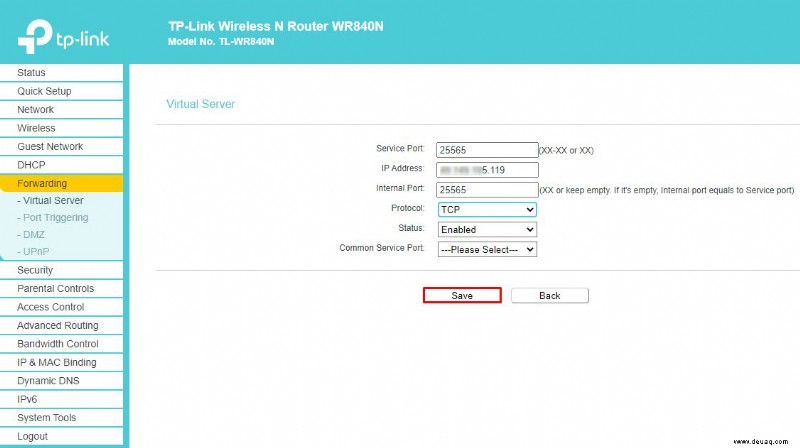
- Neue Regel: z.B. „Minecraft“.
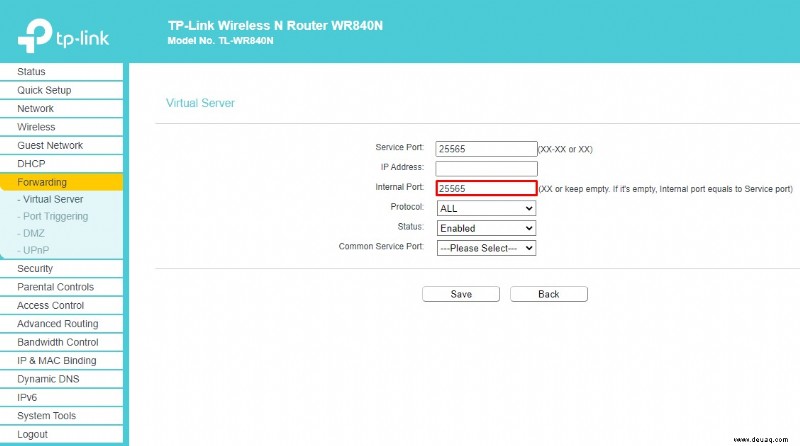
- Service-Port: 25565.
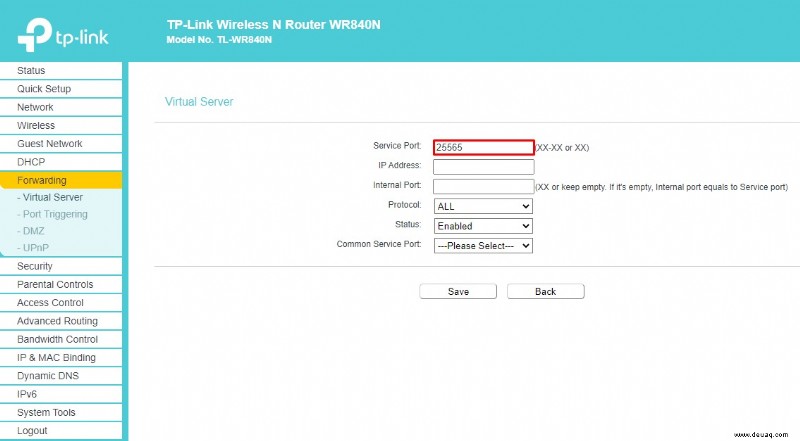
- Interner Port: 25565.
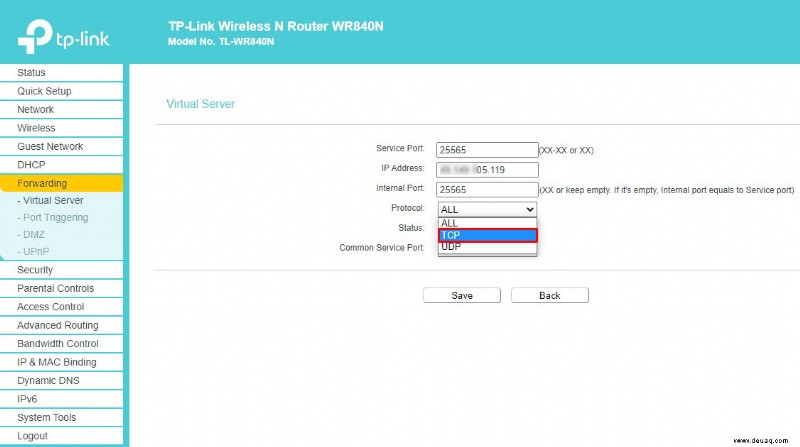
- Statische IP Ihres PCs (Google „meine IP“).

- Protokoll: TCP.
- Status: Aktiviert.
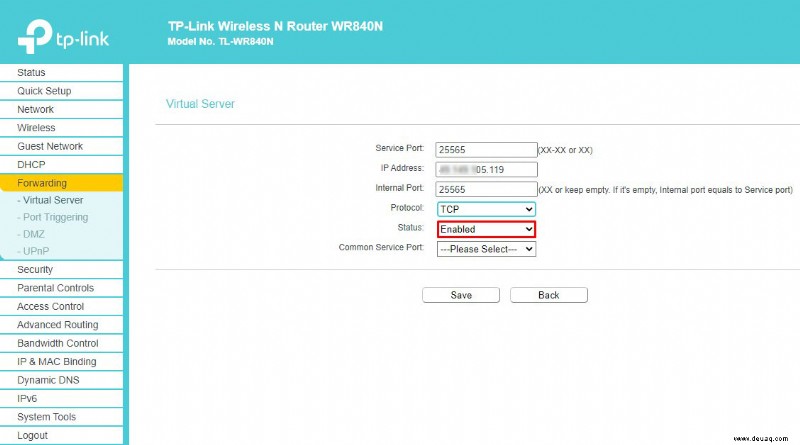
- Speichern.
- Router ggf. neu starten.
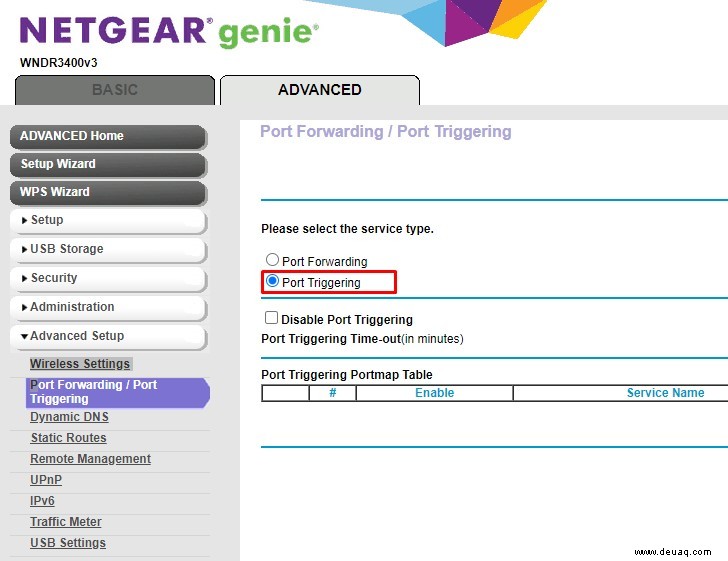
Ports auf Netgear-Router weiterleiten
Netgear verwendet die NETGEAR genie App:
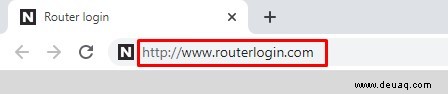
- Browser auf verbundenem PC öffnen.
- https://www.routerlogin.com.
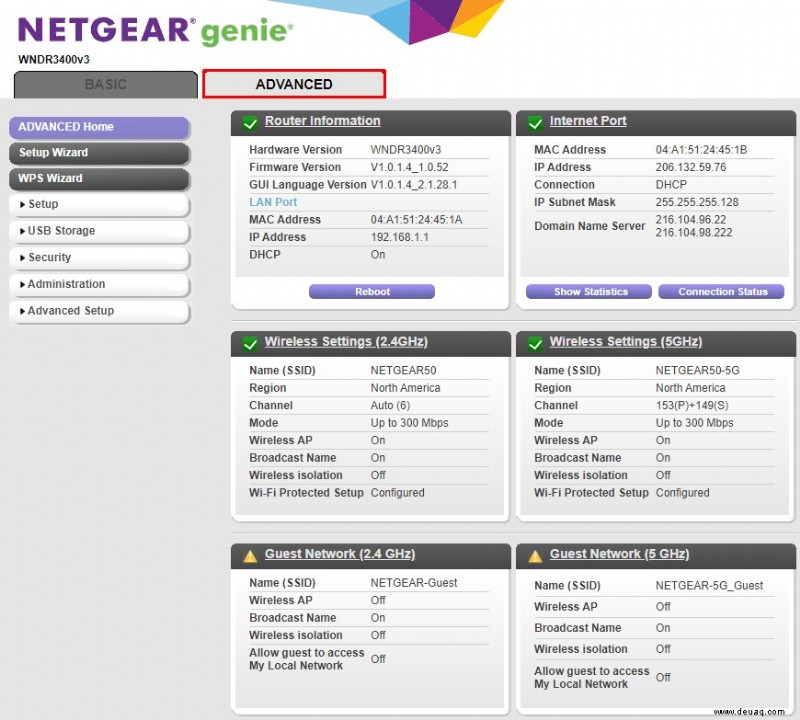
- Login: admin/password (Standard).
- „Erweitert“.
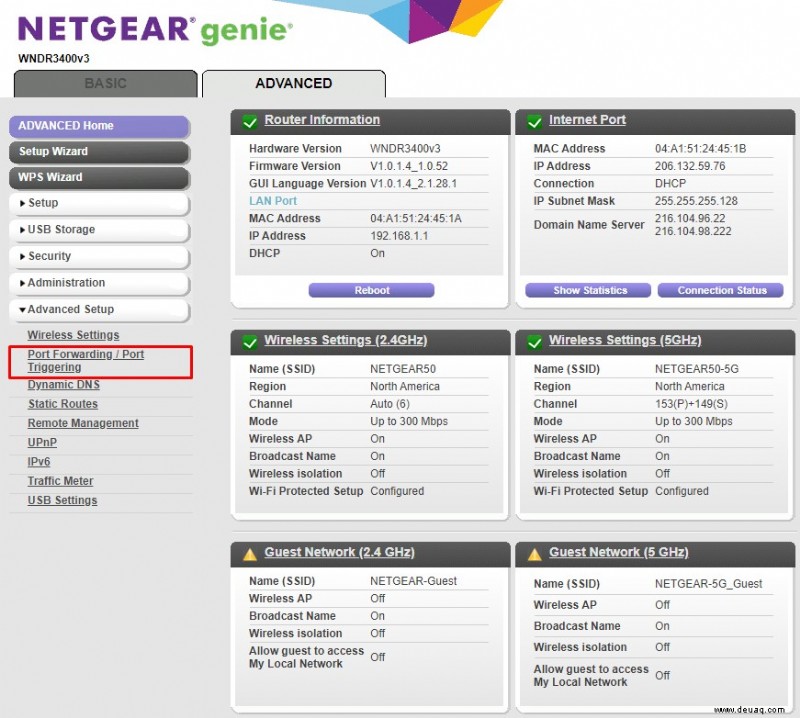
- „Erweiterte Einrichtung“.

- „Portweiterleitung/Triggern“.
- Häkchen bei „Portweiterleitung“.
- „Benutzerdefinierten Dienst hinzufügen“.

- Dienstname eingeben.
- Typ: TCP/UDP.
- Externer Startport.
- Externer Endport (gleicher oder Bereich).
- Intern gleicher Bereich? Häkchen.
- Sonst interner Start/Endport definieren.
- Interne IP (statisch oder vorgeschlagen).
- „Übernehmen“.
- Regel in Liste.
Ports auf Spectrum-Router weiterleiten
Spectrum empfiehlt oft Netgear – siehe oben. Für andere: Handbuch prüfen.
Ports auf Xfinity-Router weiterleiten
Über Xfinity-App:
- https://xfinity.com/myxfi.
- „Verbinden“.
- „Netzwerk anzeigen“.
- „Erweiterte Einstellungen“.
- „Portweiterleitung“.
- „Portweiterleitung hinzufügen“.
- Gerät wählen (verbinden, falls nicht sichtbar).
- „Manuelle Einrichtung“.
- Ports, Protokolle, IP prüfen.
- „Änderungen übernehmen“.
Ports auf AT&T-Router weiterleiten
Auf AT&T-Seite Modell wählen, „Mehr anzeigen“ für Schritte.
Ports für PlayStation 4 weiterleiten
Für besseres Online-Gaming:
- PS4: „Einstellungen“ > „Netzwerk“ > „Verbindungsstatus“ – IP/MAC notieren.
- Router-Admin öffnen.
- Portweiterleitung: TCP mit PS4-IP/MAC, Ports 80,443,3478-3480.
- UDP: 3478,3479.
- Speichern, Router neustarten.
Erfolgreiche Portweiterleitung
Mit diesen Anleitungen öffnen Sie Ports sicher. Achten Sie auf Sicherheit in öffentlichen Netzen. Teilen Sie Ihre Erfahrungen in den Kommentaren!